

A Newsletter is a document that contains numerous information on the same sheet. Numerous software and tools are used to make a newsletter. In recent days, Google Slides have proved to be a powerful tool for creating and modifying a newsletter. However, the workarounds involved in making a newsletter in Google Slides may be confusing, and therefore a guide may be beneficial to new users.
Steps to follow:
Table of Contents
1. Visit your Google Account and log in with your Google Account’s details.
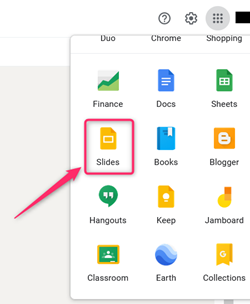
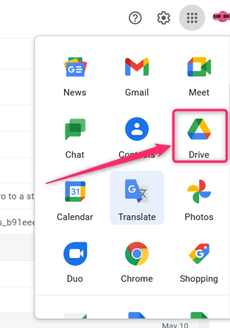
2. On your Google Account, open the Google Slides and then open a new presentation. If you are working on an “existing presentation,” locate it on your Drive and open it.
3. Create a blank slide. Go to the Slide tab on the screen, click on the layout and select the blank option.

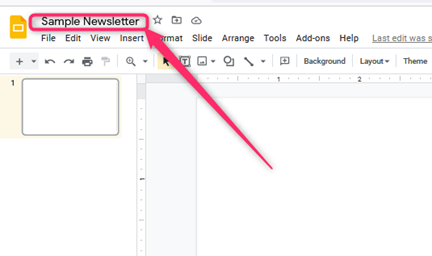
4. Click on the untitled presentation, and rename it with the name of your presentation.
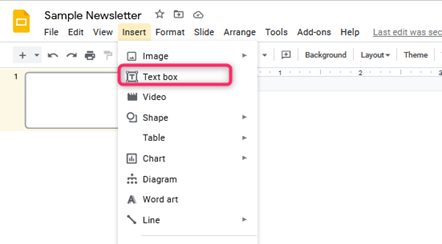
5. On the blank Slide, let’s create the newsletter. To get started, let’s add the title of the newsletter.
- Click on the Insert tab and click select the text box option.
- Position the text box at the top of the Slide and add the newsletter’s title.
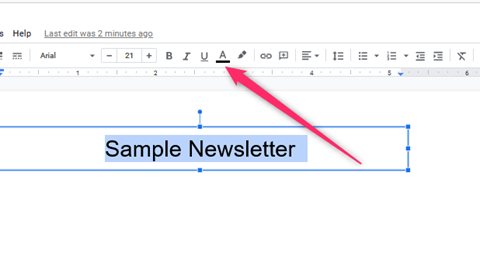
- Change the “font size” and color of the title.
- Align the title at the center. Click on the align icon on the toolbar and select the center to align icon.
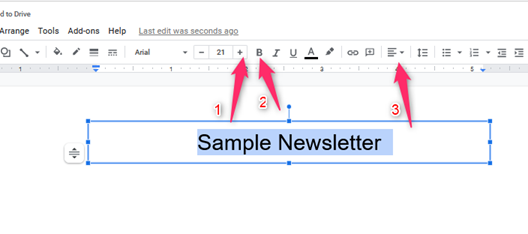
- You can also underline the title. To underline, click the underline icon on the toolbar
6. Next, add the section of the newsletter. You can use the table tool or text box feature to do so.
If you are using the table tool, follow these steps:
- Click on the Insert tab, and hover the mouse on top of the table.
- Select one cell of the table.
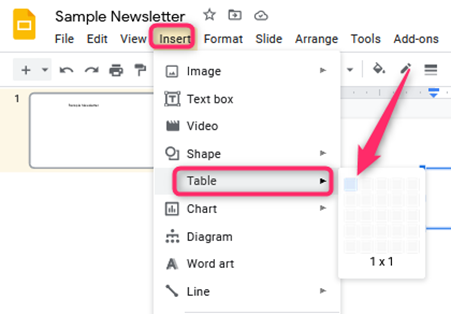
- Position the shape on the Slide.
- Add other Table cells until the Slide is filled.
If you’re using the textbox feature, follow these steps:
- Click on the Insert tab and select the text box option.

- Then, resize and position it on your Slide.
- Similarly, add other text boxes until the Slide is filled.
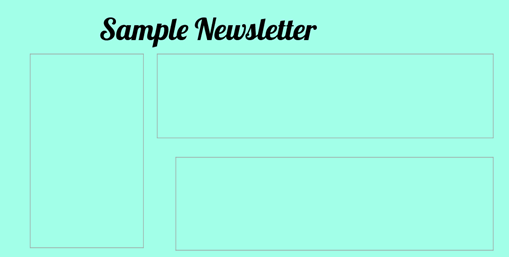
7. Finally, add the content on the text boxes or the table cells.
- Add the details of the newsletter.
- Next, you can change the “font and color” of the words.

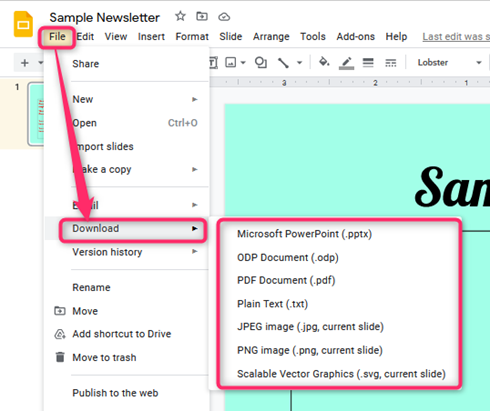
8. To print the newsletter, click on the File tab, then navigate to the download option.
Using already made templates to make a newsletter
Follows these steps:
1. Open your browser, and then search for Newsletter templates. Download or open Google Slides. For instance, visit this site for newsletter templates https://www.slideegg.com/google-slides-newsletter-template

2. Upload the template on your Drive. Click on the new, and then file upload.
3. Once the file is uploaded on your Drive, open it on your Google Slides.
4. Edit the template and add your details.