Google docs allow users to create tables. You can add rows and columns to fit in extra data. Here are the steps to follow.
How to add a column
Table of Contents
Step 1
Create a new file in your google document through google drive. You can navigate google drive by typing drive.google.com.

Step 2
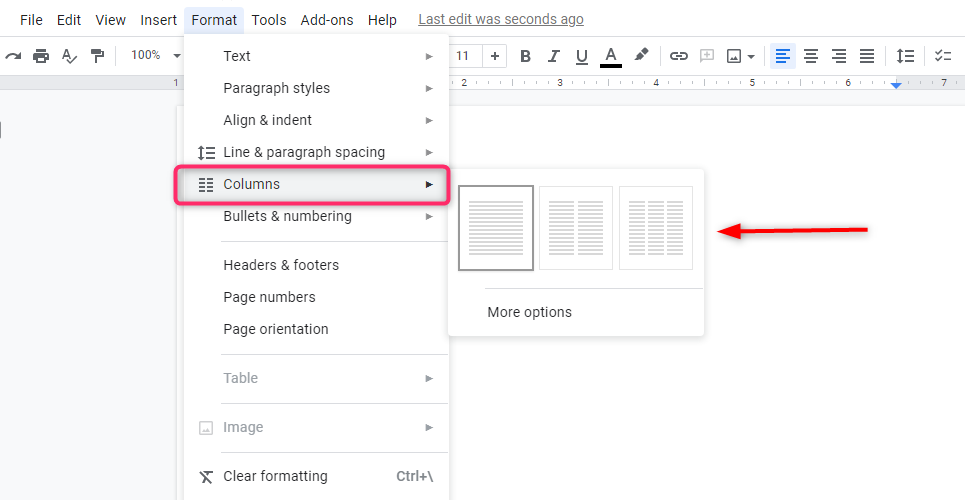
- Open a new google document or a blank document of google drive. On the bars, you can go to format, click on the column on display, and choose what type of format you need, how many columns you like.

- You can decide to do a single column, two columns, or three columns, depending. For instance, if you use three to see what it looks like; it will automatically put your text into three columns.
Step 3
You can, therefore, also go into insert column break and put all the text after it into the next column, now you’ve got two columns in there also if you go into format column and more options it will make you change the number of the column just up to three.
You can change the spacing of the document, which is in inches, between the columns to make it smaller or larger. Depending on what you like, and also, if you decide in your texts, you can decide if you need a line between the columns you can click on the option and the lines will appear between the columns.
How to create multiple columns
You can also decide to create multiple columns in google docs. Here are the steps.
Step 1
In your google doc click insert,

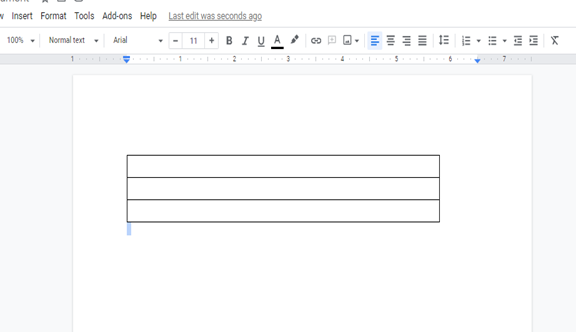
Then insert the table. Select the number of columns you would like to assimilate; for example, select two columns.

Step 2
Enter your text into your columns; once you have finished, right-click anywhere within the table and then select table properties.
Underneath the table border, change the border from black to white; this will remove the border surrounding your simulated columns.
You can also adjust dimensions and alignment and also background color click ok. And there you have it, a fantastic workaround for inserting multiple columns in google docs. Multiple columns are not like a native feature. So this is more of a workaround. For instance, you have a text of, let’s say, 600 words. What you are going to do to have two columns is basically insert a table of maybe two by 1 table, paste all information on one, and it will be inserted into one table. What you do is scroll down on the second page or whatever sort you like and cut the text out of the bottom of the first column and just paste in the second.

There are two columns, but it looks like a black border. Inside the table or anywhere in the table, Right-click and go down table properties, and under properties, you will see the table border which should be black right now. Select the down arrow and select whatever color you choose to depend on the background of your google doc. Click Ok, and there you have two columns from the page
You can also check on spelling and grammar check, word count, and also compare documents, and create a title as your first option step while creating a file on the google doc.

