

Microsoft Word is a well-known and widely used word processing software on the market. Most people prefer to use the software as it has an easy interface and suits their needs. Word has several features incorporated into it that make documents unique and well organized. With these features, a user can create, edit and even share their work quickly.
However, most people fail to comprehend how to use the features in Word to create professional and better-looking documents. Headers and footers are one thing people may fail to grasp. Here we discuss how to add different footers in Word.
Ways to create different footers for each page
Table of Contents
By default, when you insert a footer in your Word document, it will be applied to all the pages. You can also create a new section in your word document and disconnect the different footers. Here are the steps to follow;
1. First, insert your cursor at the bottom of your last page of the previous section or chapter. You have to make sure the cursor is outside of the footer area.
2. On the main menu ribbon, click on the Page Layout tab.

3. Under the Page Setup group, click on the drop-down arrow and click on the Breaks option.
4. Under Section Breaks, select Next Page.

5. Your cursor will move to the next page in case you have different pages. It will create a new page if your word document has no next page. Remember to remove any extra line breaks created while being careful not to delete the section break.
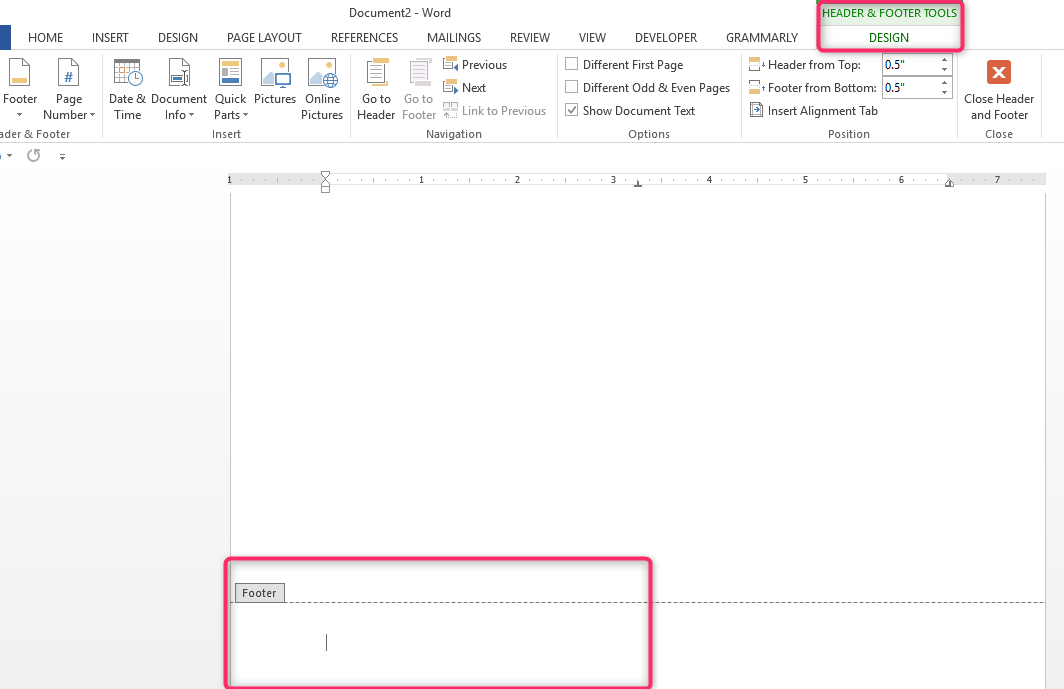
6. Next, go to the bottom of the first page of the new section and double-click inside the footer area. Doing this will activate the Header & Footer Tools tab.
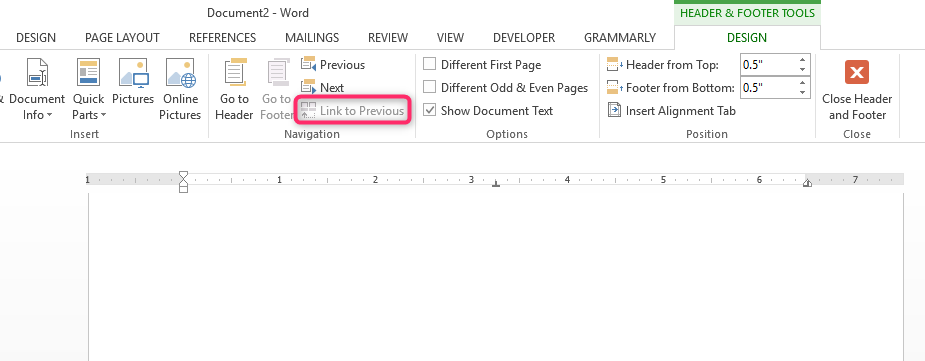
7. On this tab, click Link to Previous to deselect it and unlink the footer from the previous section under the navigation group. The white shaded button shows it has been deselected, while a yellow shaded one shows it is selected.
8. Next, you can double-click on the footer in each section and choose styles or even add content.
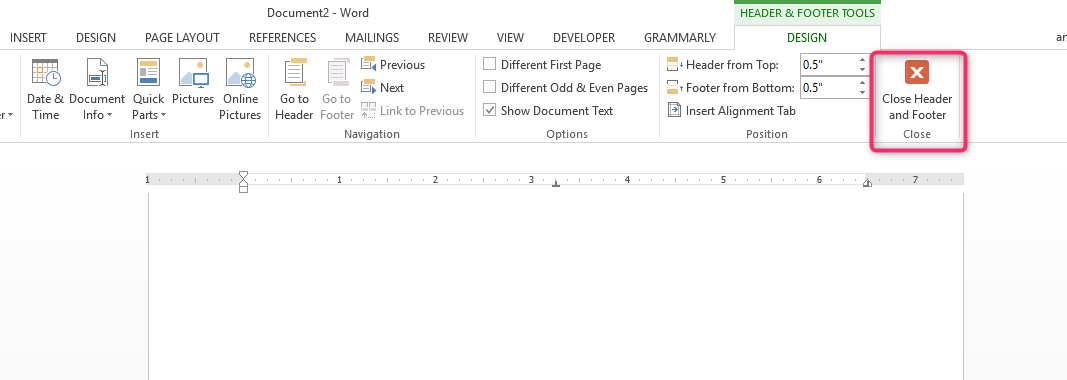
9. Select the Close Header & Footer button to exit.
10. Here, you can create a new footer on your page and repeat the whole process for the different sections of your document.
Creating a different footer on the first page
You can have a different footer on the first page of your Word document that does not show on the rest of your document.
1. Double click on the footer area of your document to activate the region.
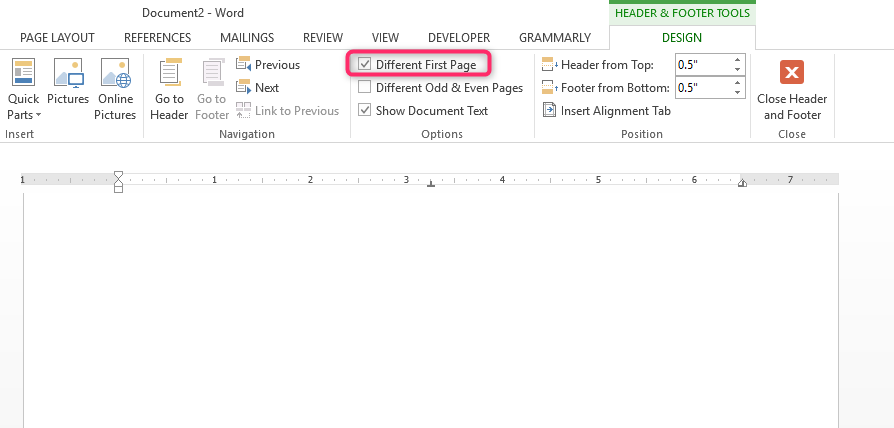
2. On the main menu ribbon, you will see a Design tab. Here, select the Different First Page option.
3. When you do this, any text in the footer section of the first page will be deleted automatically, and the name changed to First Page Footer.
4. Fill in the space with your text that will not impact the footers in any subsequent pages.
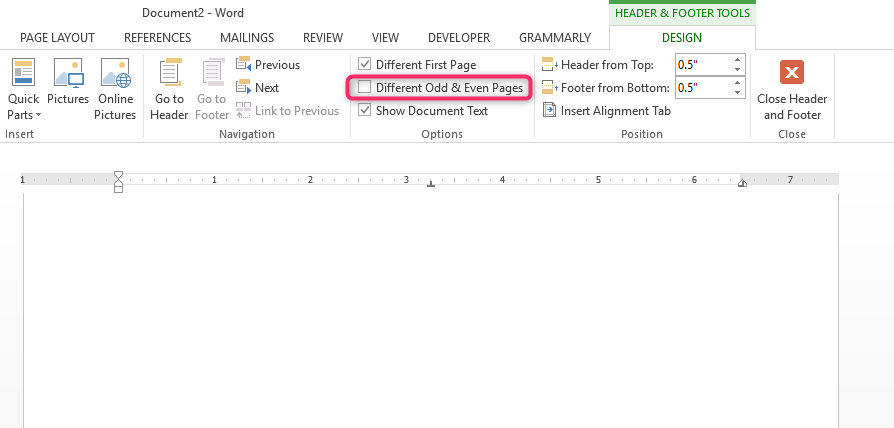
Creating different footers on odd and even pages
1. Double click anywhere on the footer region of your word document to activate it.
2. On the main menu, you will see a Design tab that deals with different options and controls of the Header & Footer regions.
3. Under the Design tab, select the Different Odd & Even Pages option.
4. Afterward, anything you have in the footer region for even-numbered pages will be deleted. Here, you can type in what you want and align it.