
Locking elements in Word is a feature that prevents these elements from misaligning while you are working on a document. Sometimes, working with Word may be stressful, as you need to position images and text now and then. Word users can easily lock the elements, thus keeping them in place. This post will discuss ways of locking elements in Word.
How to lock image position
Table of Contents
a) Using the Wrap tool to lock
Steps to follow:
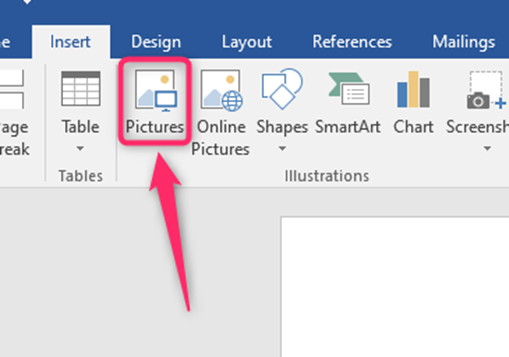
1. To get started, you need to add the Image. Click on the Insert tab, and locate the Illustrations section.
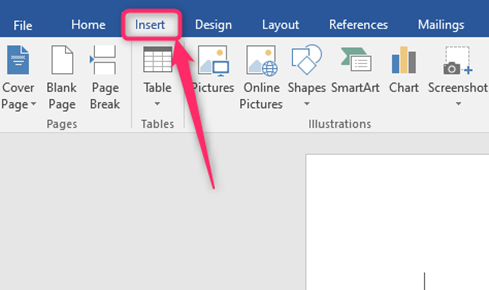
2. Click on the Pictures Button. You will be prompted to select the Image to add to the page. Finally, click the Insert button.

3. Click on the added Image and the Layout Options button.
4. From the options, choose the wrapping option you need.

5. Then, toggle on the Fix position on the page button.
b) Using picture control
Steps:
1. Locate the Wicon on your Pc and double-click on it to open.
2. Press CTRL + O keys to open the existing document or a new document that you need to use this feature.
3. Click on the Developer tab, and locate the Controls section.

4. Click the Picture Content Control button.
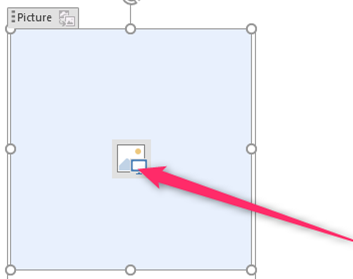
5. In the inserted picture control, click the picture icon. Locate the Image on your device, and click the Insert button to add the Image in the control section.
c) Locking images using the restrict editing tool
Steps:
1. Locate the Word icon on your Pc and double-click on it to open.
2. Press CTRL + O keys to open the existing document or a new document that you need to use this feature.
3. Add the Image to the page. Click on the Insert tab, and locate the Illustrations section. Click on the Pictures Button. You will be prompted to select the Image to add to the page. Finally, click the Insert button.
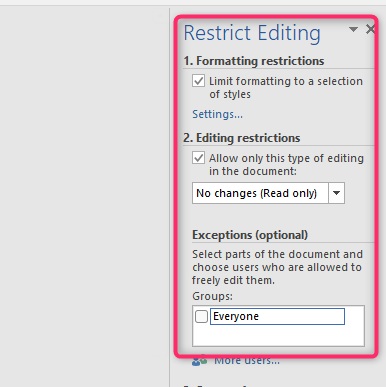
4. Click on the Review tab and the Restrict Editing Button.
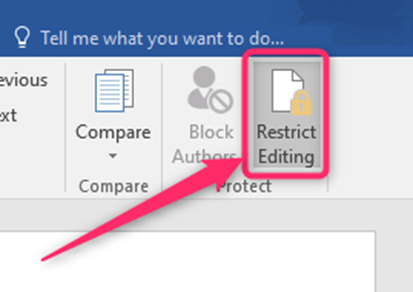
5. Check all the locking checkboxes.
How to lock text in place
a) Method 1
Steps:
1. Locate the Word icon on your Pc and double-click on it to open.
2. Press the CTRL + O keys to open the existing or new document.
3. Click on the Insert tab on the screen, and locate the Text box drop-down button. From the button, choose the text box you want.

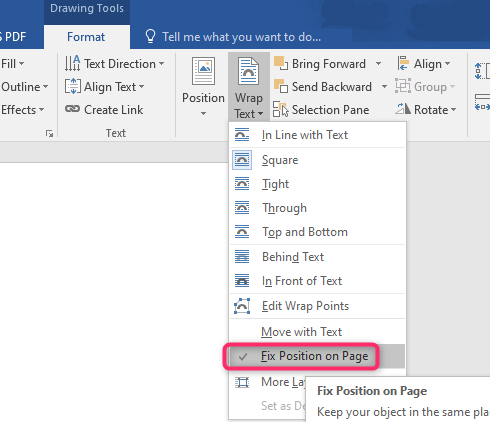
4. Edit the Text box, and click on the Format tab in the Drawing Tools section.

5. Click on the Wrap Text drop-down button.
6. From the menu, check the Fix position on Page checkbox.
b) Using the restrict Editing tool
Steps:
1. Locate the Word icon on your Pc and double-click on it to open.
2. Press the CTRL + O keys to open the existing or new document.
3. Click on the Insert tab on the screen, and locate the Text box drop-down button. From the button, choose the text box you want.

4. Click on the Review tab and the Restrict Editing Button.

5. Check all the locking checkboxes.
