Book trailers created with Google Slides are a great way of capturing the attention of target readers. The Google Slides, through presentations, let the pictures tell the story hence making the audience curious to read the book. Here is a simple guide on how you can make a fascinating book trailer using Google Slides:
1. Read the book
Start by reading the book; reading allows you to understand the plot and develop the primary visuals in the trailer.
2. Create a short script
Next, attempt writing a short script that features the story’s plot; this should be a synopsis/summary of the whole book. It would be best to make the script interesting enough to capture your viewers’ curiosity. For instance, ask intriguing questions after a series of events to make the reader want to know what happened next.
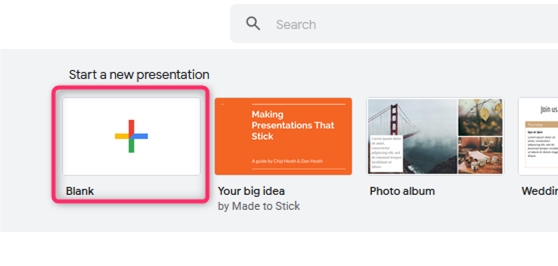
3. Open a new document on
Google Slides.
That is the space you will use to create your book trailer. In your browser, search for images that you can use in between your trailer. Make sure you have permission to use those images to avoid copyright claims. Also, search for free and legal music either on Google, YouTube, Instagram, or any other app.
4. Write the text from your script.
Embed the images and music you found into your Google Slides presentation. Choose a specific pattern that you will use for your slideshow; i.e., you can write each sentence on its slide. You can use the Chrome Extension Audio Player or any other app to add music to the slides.
5. Preview the presentation
Make a few changes where there is a need. If you want the presentation to look more like a movie, you can add a few transitions here and there.
6. Start recording
On the bottom left of your screen, click on a circle icon to access the Screencast-O-Matic chrome app. Once the app opens, press the Screencast-O-Matic icon, then start recording your presentation.

7. Present your slideshow
Create an appropriate time limit for your slides; do not make them move so fast. It would help if you gave your reader some time to read the information on each slide before proceeding to the next slide. You can set each slide to play for about 8 to 10 seconds. After you are satisfied with your recording, press “Esc” to exit, hit the Screencast-O- Matic icon, and click “DONE.”
8. Trim the video
A screen will pop up for you to trim the video. Move the sliders to trim additional parts that should not be featured in the trailer. Click the play button for accuracy to ensure you achieve the trailer’s desired starting points and ending points.
9. Save or Upload the video.
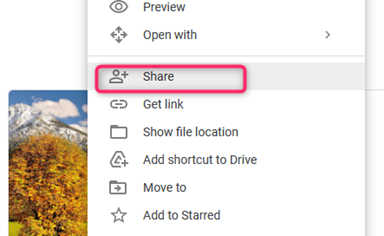
After you have finished cutting out everything, you can choose to save the book trailer as a video file or upload it to Google Drive and YouTube. If, for instance, you want to upload the trailer to your Google Drive, click on the “Upload” option and select “Account.

” Link your Google account and name the recording. The video will be uploaded to your Google Drive account within a few seconds. Next, you can change the sharing option by choosing “anyone with the link.”
10. Share it with friends.