

A virtual library is a type of library that can be accessed virtually. That is, it contains different linked books. It allows users to easily access the books compared to the standard library. Different software and tools can be used to create a virtual library. One of the powerful tools for making a virtual library is Google Slides.
Using Tables to Make a Virtual Library
Table of Contents
Follow these steps when using this method:
1. Log- into your Google Slides.
- Open a browser of your choice. In Google, search for Google Account.
- From your Google Account, locate the Google Slides App from the Google Apps, and click on it.

- On the Google Slides screen, locate the Blank document (with the rainbow plus sign).
- Click on it to open an empty Google Slides Document.
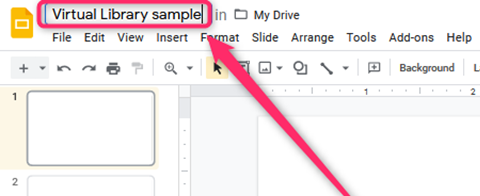
2. Rename the Google slide document.
- On the opened document, Click on the untitled presentation.
- Edit it, and add the name of your virtual library presentation.
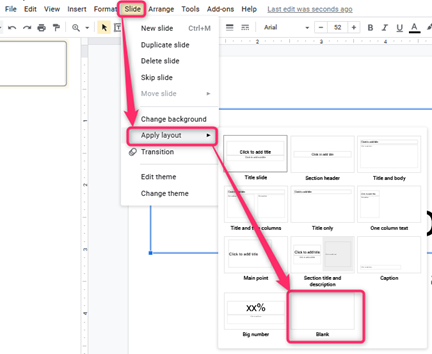
3. Change the slide layout.
- Go to the Slide tab.
- Click on the layout, and then select the blank option.
4. Insert the table to represent the library shelves.
- Go to the Insert tab, and hover your mouse on top of the table button.
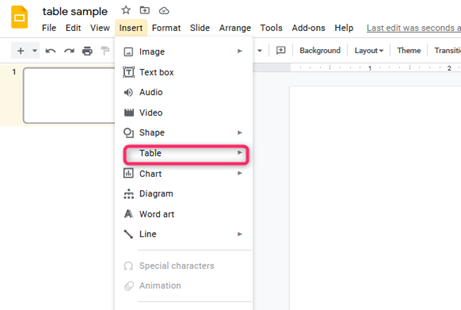
- Select the number of rows and columns you want your shelves to have from the drop-down menu.

- Resize and position the table in Google Slides.
5. Adding Books to the table cells (shelves).
- Search for the book you want to add to the shelf on your Browser. Download its cover photo.

- Then, copy the link to the book.
- On your table on the Google Slides, locate the table’s first cell, and insert the cover photo. Click insert tab>image>upload from computer.
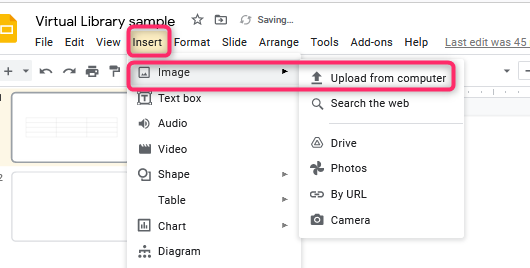
- Position and resize the cover photo to fit in the cell.
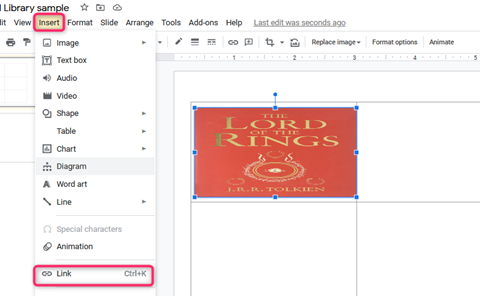
6. Linking the books on the shelves.
- Click on the cover photo added on the shelf.

- Go to the Insert tab, and click the link button.
- You’ll be prompted to enter the link to the book. Paste the link you initially copied.
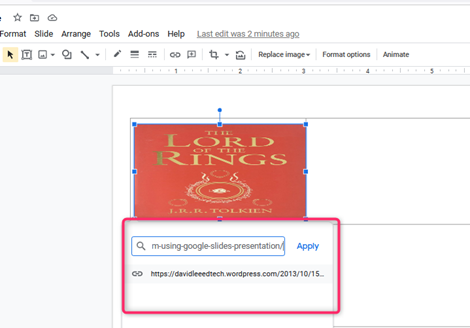
- Finally, press the Enter key.
7. Repeat steps (5) and steps (6) to add other books to the shelves.
Using Bitmoji to make a virtual library
Follow these steps:
1. Download and install Bitmoji.
- That is, go to https://chrome.google.com/webstore/

- Log in to the Bitmoji using your Snapchat account details or the Bitmoji detail.

2. Log- into your Google Slides.
3. Change the slide layout.
- Go to the Slide tab.
- Click on the layout, and then select the blank option.

4. From Bitmoji, locate the shelf structure.
- Drag and drop it on your Google Slides.
- You can also download it and then insert it into Google Slides.

5. Adding Books to the shelves.
- Search for the book you want to add to the shelf on your Browser. Download its cover photo.
- Then, copy the link to the book.
- On your table on the Google Slides, locate the table’s first cell, and insert the cover photo. Click insert tab>image>upload from computer.

- Position and resize the cover photo to fit in the cell.
6. Linking the books on the shelves.
Click on the cover photo added on the shelf.
- Go to the Insert tab, and click the link button.

- You’ll be prompted to enter the link to the book. Paste the link you initially copied.