Are you prepping for a presentation? Once in a while, you might need to make your background transparent or delete the background when working on Google Slides. Both actions will make your presentations look great! If you’re unsure how to do it, this article explains everything you need to know.
To end up with a transparent background on Google Slides:
Table of Contents
1. Upload the image you need for your presentation.
2. Select and click on the image
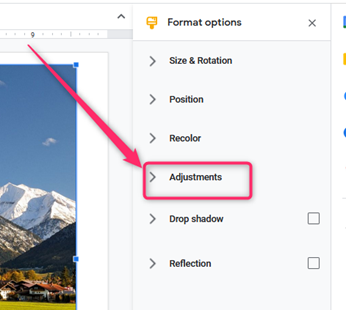
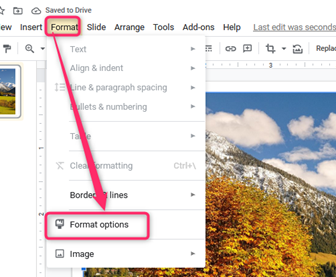
3. Go to “Format Options.“

4. Click “Adjustments” then “Transparency” on the menu below the format options.

At this point, you can adjust the transparency of your image’s background. Use the slider to adapt and to move the image appropriately where it was. Once you are satisfied with the adjustments, proceed to the next step.
5. Drag the image to cover all the corners and the entire slide.
Use the up and down arrow keys to help ++you change the slide’s position. If you are not sure if you are doing the right thing, click on “Present” to see the exact position of your image. Go back to the editing mode by pressing “Esc.” On your keyboard.

6. After editing, right-click the image and navigate to “Order” then “Send to back.”
Confirm that the background of the image on your Google Slide is transparent just the way you want.
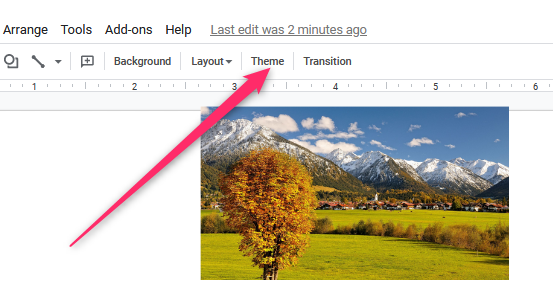
7. If you want your slides to have transparent backgrounds, click the image and choose “Theme.” However, if you want the background in blank slides only, choose “Blank.”

Now you have a transparent background! If you want each slide to look different, you can make several images transparent and then add them to various slides.
How to Make Multiple Images Transparent in Google Slides
Here is how you can make several image backgrounds transparent simultaneously on Google Slides.
1. Upload all the images that you want
If all the images are on your computer, select all of them at a go, then drag all of them into a single slide.
2. Next is to group all the images. After selecting, go to “Arrange” then “Group.”
3. Proceed to “Format Options,” then click on “Adjustments” and “Transparency” below the format options menu.

4. Use the slider to adjust the transparency; the effect will apply to all images.
If you want each image on a different slide, ungroup them again. You will also have to ungroup them to adjust the images’ sizes.
5. To ungroup, right-click the images, then select “Ungroup.”
6. If you feel like you need to use one image as the background for a different slide, select the image you want, and navigate to “Command + X (Mac)” or Ctrl + X (Windows).
This command will automatically select the image from the rest. After the image is cut out, choose the Google Slide of your choice for this image.
- Press Command + V (Mac) or Ctrl + V (Windows). Drag the image and adjust it to fit perfectly into the slide.
- If you want your text and background to be vibrant, moving your image to the back is advisable. Move the image to the back by right-clicking on the image, selecting “Order,” then “Send to back.”

