Objects are one of the things you will work on mostly within PowerPoint because most of the features in PowerPoint can be referred to as objects. Text labels, images, charts, graphs, and any feature within the slide show are referred to as an object. Before you see the objects, you have to add them to the slides. But working with objects is not a complicated process. We will help you learn more about working with objects in PowerPoint.
How to lock an object in PowerPoint
Table of Contents
Do you want your objects not to be edited by other users? Or do you want to prevent objects in your slides from moving accidentally? You can lock an object in PowerPoint by using the following steps:
1. Go to the slide containing the object you want to lock.
2. Right-click on the object.

3. Several options appear, including the option to lock the object.
4. Click on the Lock icon on the object name’s right side. Locked objects display a lock icon on top of them.

How to align objects in PowerPoint
You can align objects in PowerPoint by using the following steps:
1. Select the objects you want to align on your PowerPoint presentation.

2. Click Format under picture tools.

3. Click on Align.
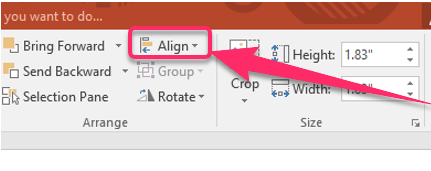
4. Choose the way you want to align the objects. You can pick Align Left, Align Right, Align Center, Align Middle, Alight Top, or Align Bottom.

How to group objects in PowerPoint
Grouping objects such as shapes together enables you to drag them to different pages together. You can group objects in PowerPoint by using the following steps:
1. Select the objects that you would like to group. You can press and hold SHIFT while you click on every object to help you select multiple objects.

2. Select the Format tab.
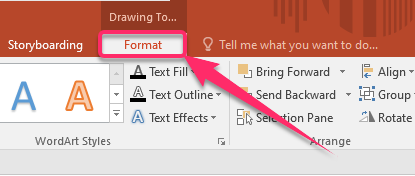
3. Click on Group.

4. Select Group.
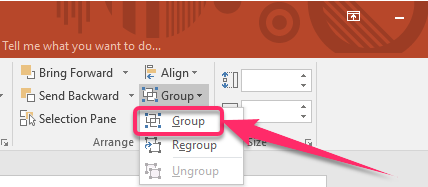
5. Format the grouped objects in whichever way you would want to.
How to line up objects in PowerPoint
Lining up objects puts them vertically above, below, or horizontally beside each other. You can line up objects in PowerPoint by using the following steps:
1. Select the objects you would like to align by pressing CTRL and holding as you select the other objects.

2. To line up pictures, Click Format under the drawing tools.
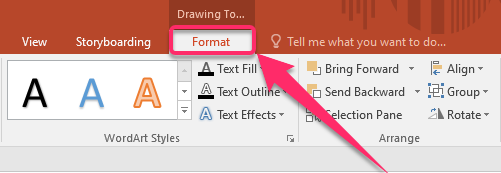
3. In the Arrange group, click on Align.
4. Select Distribute Horizontally to line up the objects horizontally.
5. Select Distribute Vertically to line up the objects vertically.

How to select multiple objects in PowerPoint
You can select multiple objects in PowerPoint by using the following steps:
Using Click
1. Hold down the Shift key on your keyboard and select multiple objects.
Using the Selection Pane
1. Select the Home tab.
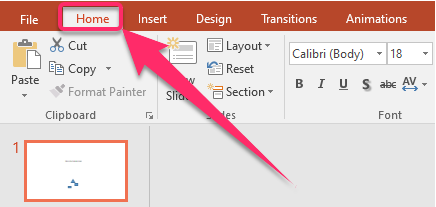
2. Click on the Editing group.
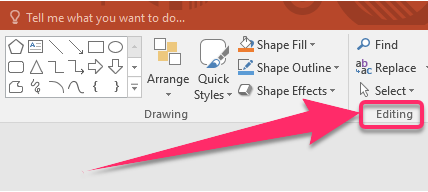
3. Click on the Select drop-down menu.

4. Select Selection Pane.

5. Highlight an object from the left pane to select on your slides.

6. Press the CTRL key on your keyboard to select multiple objects. They are highlighted in different colors meaning they are selected.

We hope it helped you achieve your goal of working with objects, whether selecting multiple objects, lining up objects, locking an object, aligning an object, or grouping objects.

