Adobe Express has numerous tools that are used in designing. Each of the tools in Adobe Express has a specific task. This article will discuss the five most valuable tools vital to every user in Adobe Express.
1. How to create and customize a design from scratch
Table of Contents
To new users, creating a design may be challenging. This article got you covered. Below are the steps to follow:
a) To get started, you must have an Adobe Express account.
1. Visit the Abode Express official website to log in or sign up. That is, visit this link https://account.adobe.com.
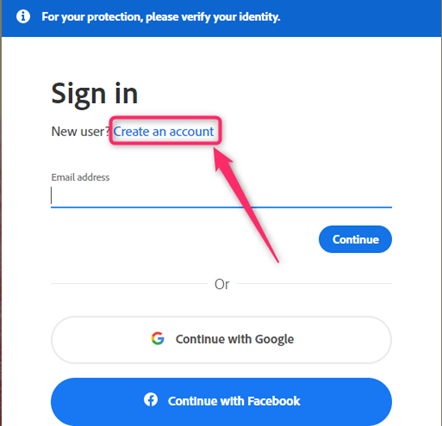
2. Click on the Create an account button.
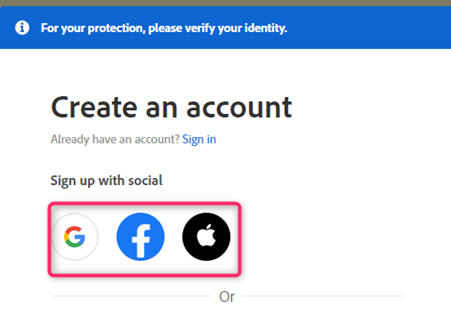
3. If you want to create an account using Social details, select the option you wish to in the Sign up with a social section.
4. Alternatively, use the Email address to create an account.
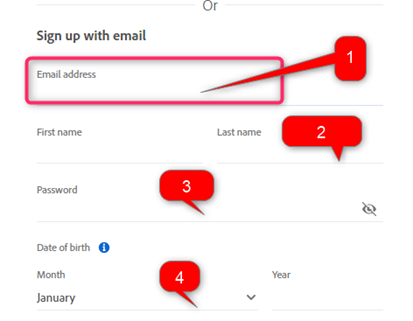
5. Enter your Date of birth information.
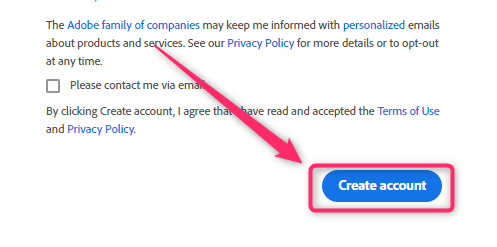
6. Finally, click the Create Account button.
b) Choosing the Design
Steps:
1. login to the already created account.
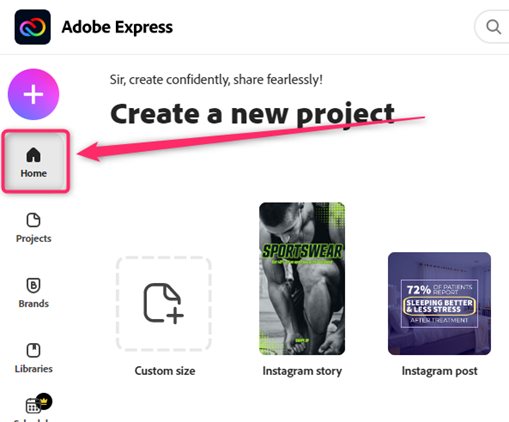
2. Choose the Home tab on the screen.
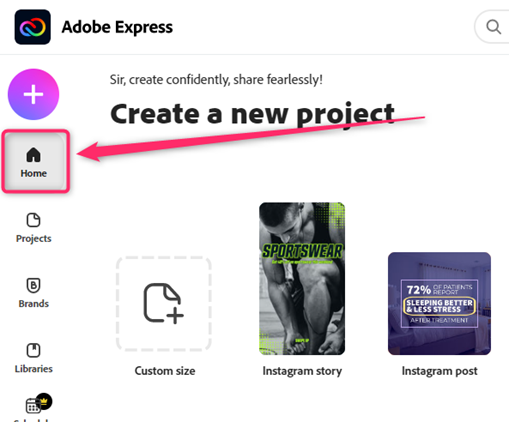
3. Scroll downward, and locate the template you want to use. Alternatively, click on the Search box above, type the template’s name, and then hit the Enter button.

4. On clicking the template you want, double-click on the section next to Projects and enter the name of your design.
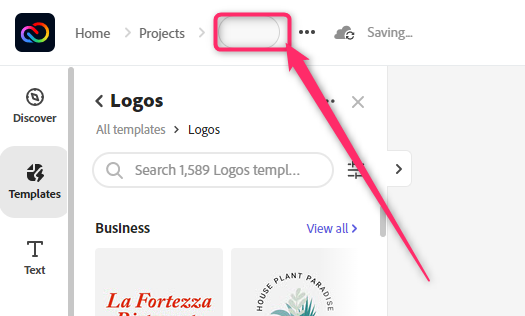
5. Use the tabs on the left pane to add information on your design.
Discover tab contains all the elements and tools you can use in your design. It has a search box that helps the user is searching for the tool they need,
Template tab- This tab contains the already created template you can use to create designs.
Text tab- This is one of the vital sections in Adobe Express. It contains all the font styles and text boxes used on the design page.
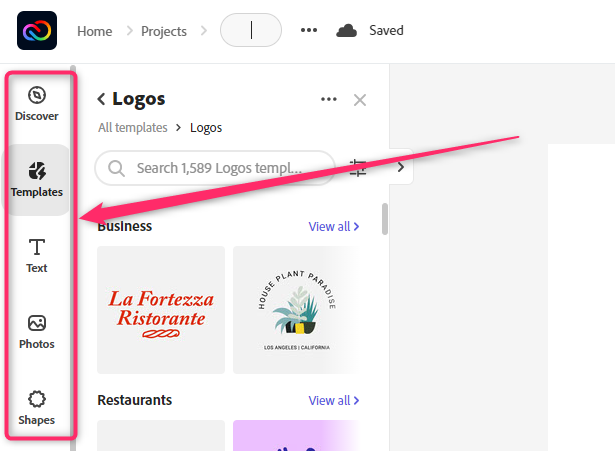
Photo tab- This section allows users to upload or use the Adobe Express images in their design.
Shapes tab- This is where all the shapes are stored. Users can select and insert any shape from this section.
Design Asset- If you want to customize your document, this tool is for you. It has numerous effects and illustrations that can be used in documents.

Background- One way to make the design eye-catching is by adding the background image or color. This tab allows adding a background to your document.
Logos- This tab contains the logos used in your document.
Libraries- This tab allows one to create a library that can be used to store the designs.
c) Customizing the Design
Steps:
1. After creating the document using the left pane tabs. Go ahead and customize it.
2. Click on the element in your page you want to customize.
3. Use the tabs on the right pane to customize the design.
Colors- this tab is used to change the color of the elements in the design.
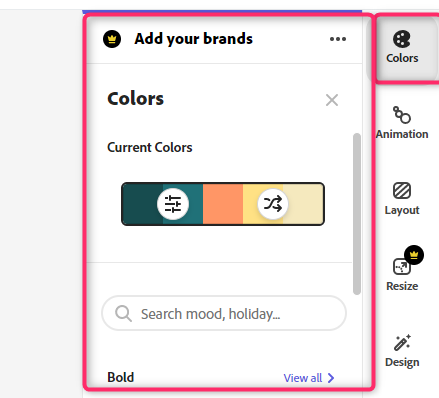
Animation- This tool is used to animate the text or images in your design.

Layout- This tool is for you if you want to add more pages or grids to your design. It allows users to add layout features to their documents.
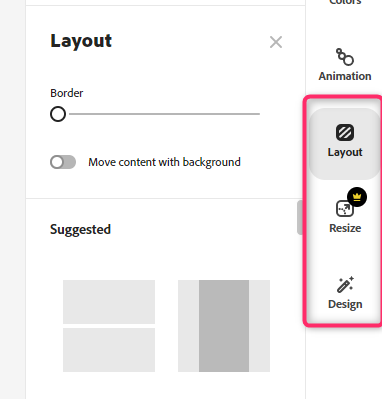
Resize- To make the element fit in your design, you need to resize it. The Resize tool enables the user to resize the selected element.
2. How to download the design
When creating the design, you may need to download and save it on your device. Here are the steps to follow:
1. After customizing the 3D image, locate the Download button on the right side of the screen.
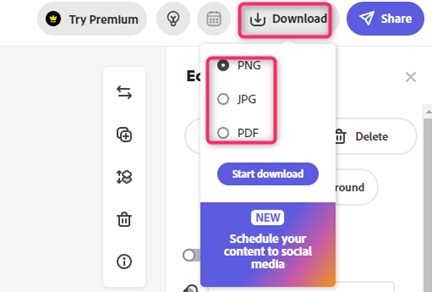
2. On the download menu, choose the download format you want. To change the format, toggle on the button next to the format you want.
3. Then, click on the Download button. The 3D design will be saved on your device.

3. How to add and edit text
Steps:
1. Click on the Text tab on the left pane, and select the Add your text button.
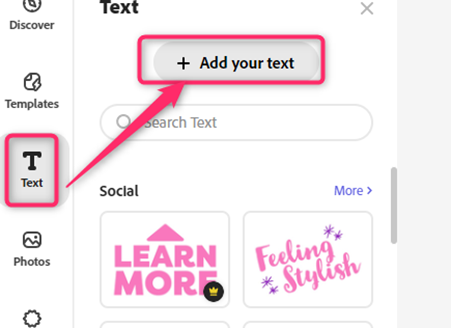
2. A text box will be inserted into your page.
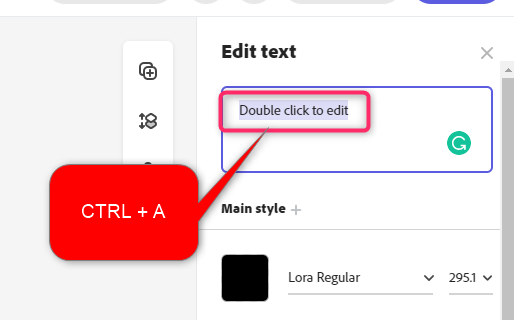
3. Double-click on the text to activate the edit cursor.
4. Use a keyboard shortcut to highlight the text. That is, press Ctrl+ A.
5. Alternatively, use the Forward and backward arrows to move the word you want to delete.
6. Press the Backspace or delete button to delete the added text.
a) To change the font of text
steps:
1. Add your Text to the text box.

2. In the Edit Text pane, locate the Text size drop-down button.
3. Select the font size you want to apply to your document.
b) To change the font style
Steps:
1. Add your Text to the text box.
2. In the Edit Text pane, locate the font-style drop-down button.
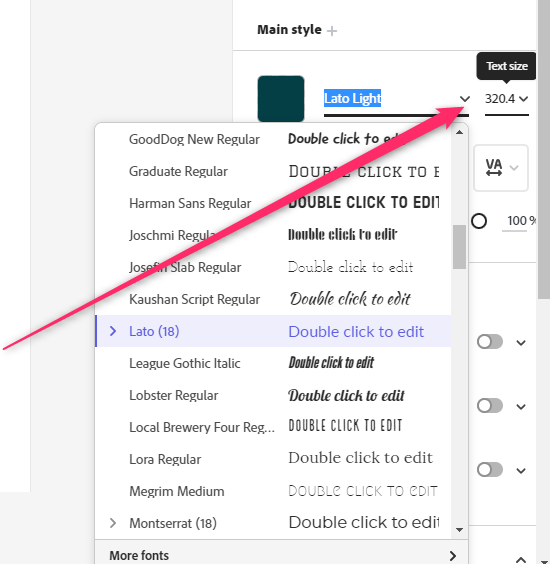
3. Choose the font style you want to apply from the menu.
4. How to upload and crop images
a) To upload
Steps:
1. Click on the Photo tab on the left pane.
2. Then, click on the Upload photo button. You will be prompted to select the image from your device. Then, click on the Open button.
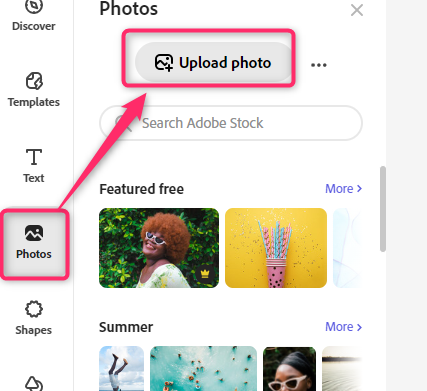
3. Drag the Image and add it to your design page.
b) To crop an image
Steps:
1. Double-click on the image to open the Edit image pane on the right side of the screen.
2. From the pane, click on the Crop & Shape option.
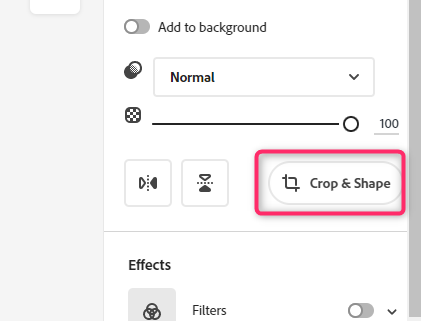
3. Locate the Image Size section. Use the cursor to adjust the size of the image.

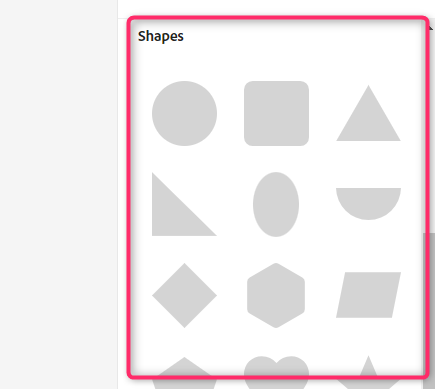
4. Alternatively, you can use the Shape section to crop the image.
5. How to use Documents in Adobe Express
Steps:
1. To get started, add an image or text. Therefore, visit the Adobe Express official website to log in or sign up. That is, visit this link https://account.adobe.com. If you do not have an account, click the Create an account button.
2. Choose the Home tab on the screen.
3. Scroll downward, and locate the Try a quick Action section.
4. Click on the PDF tab.

5. Then, click on the Convert to PDF button.

