

A watermark is a text or image that is faded and sits across a document page, usually diagonally. The purpose could be to indicate the document’s stage, such as draft, final copy, or confidential. You can use a watermark to insert the company logo in the document to avoid issues such as copyright infringement. Creative writers may add a watermark to enhance the aesthetics of their document.
A draft watermark indicates that the document is a draft and is not the final copy. Here is a step-by-step procedure on how to add a draft watermark to a word document.
1. Launch Microsoft word and open the document to which you intend to add a watermark.
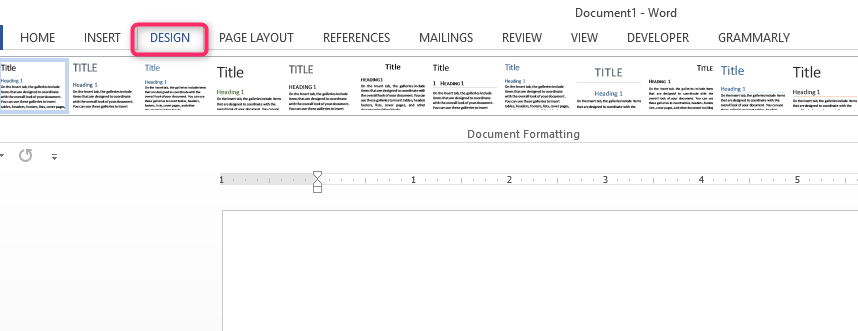
2. click on the “Design” tab. The Design toolbar appears with a range of design options.
3. Select the “Watermark” option by clicking on it. A drop-down menu appears with a list of standard pre-configured watermarks. Proceed and click on the DRAFT watermark if it is available.

4. If the DRAFT watermark is not on the list of pre-configured watermarks, click the Custom watermark option. A dialog box appears. Initially, the “No watermark” check box has been selected.
5. Click on the “Text watermark” check box. This allows you to write on the text boxes below any custom watermark that you want to write.

6. Under Language, select the Language you want to use. English (United States) is the default language selected.
7. On the text box right of the Text option, type the text watermark you want to insert into your document. In this case, it’s a Draft watermark, so write the word “DRAFT” in the text box.

8. Under Font, click on the drop-down menu on the rightmost of the text box and select the Font you prefer for your watermark. The default selected Font is Calibri.

9. Under the Size tab, select the font size you prefer for the watermark. The default font size Is “Auto.” This means that the font size automatically selects itself depending on the number of letters you type to fit well on the page of the document. However, you can click on the drop-down icon and select a preferred font from the fonts that appear on the drop-down menu.

10. To select the preferred color for the watermark, do the same and click on the drop-down icon to the right of the “Color” tab. A drop-down menu appears with a variety of colors you can choose from. The default color is labeled “Automatic” and is black color. Select the color of your choice.

11. Select the layout of the watermark that you prefer. There are two options, horizontal or diagonal layout. The diagonal layout is the default layout. You can select the desired layout by clicking on the checkboxes with the layout’s name.
12. Click OK. You have successfully added a Draft watermark to your document.
