Microsoft word has several symbols that are used in various fields such as accounting and math. One of these symbols used frequently in Microsoft Word is the degree. Hence we are going to learn how to insert degree symbols in Microsoft word documents.
How to use the ribbon to insert the degree symbol in Microsoft word
Table of Contents
1. Open your document in Word by double-clicking on the file.
2. Once the document is open, locate where you want the degree symbol to appear and place the cursor at the located place.
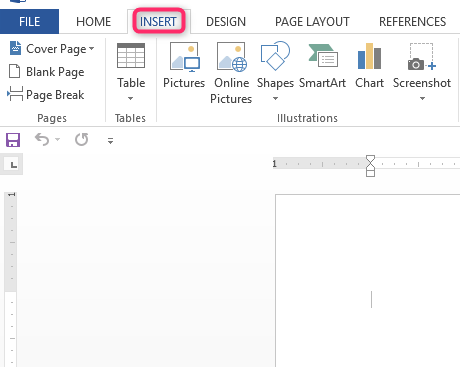
3. Click on the “Insert” tab ribbon at the top of your window.

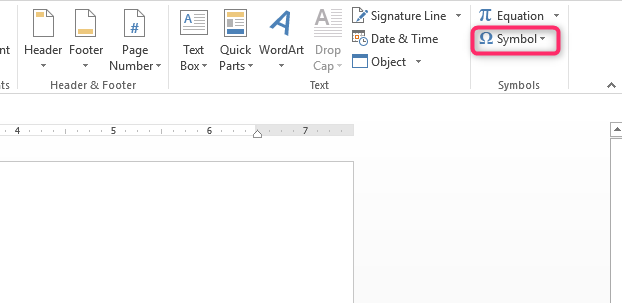
4. Click on “Symbol” at the far right in the ribbon. Choose “More symbols” from the drop-down menu that appears after clicking on the symbols.

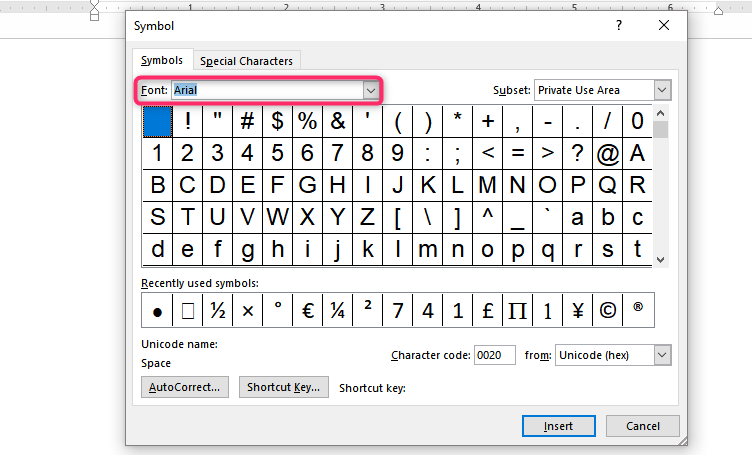
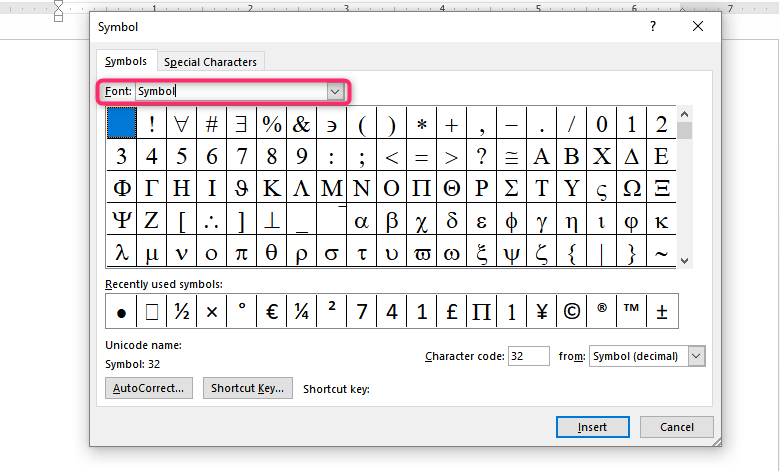
5. Select your document’s current font in the “Font” drop-down.

6. Choose “Latin -1 supplement” from the “Subset” drop-down on the right.
7. Scroll through the characters to find the degree symbol.
Several symbols tend to look like degree symbols, so always confirm the label at the bottom of the window.
How to use character map to insert degree symbol in Word
1. Type “Character” in the search box, and from the results, choose “Character Map.”
2. Check out the box for “Advanced view” at the bottom of the character map window if it is not already selected.
3. Type degree in the “Search for” field and then click “Enter.” The degree symbol will automatically appear.
4. At this point, you have to copy and paste them into Word. So, double click on the degree symbol and click on “Copy.”
5. Turn back to your document in Word and paste the degree symbol where you want it to appear.
How to use keyboard shortcuts to add degree symbols in a Microsoft Word document
1. Open your document file in Word and place the cursor where you want your degree symbol to appear.
2. Press Alt + 0176 on your keyboard, and the degree will appear in your selected place in your document.
How to create a custom keyboard shortcut to help add the degree symbol in a Microsoft Word document.
1. Place your cursor in the word document.
2. Click on the “Insert” tab ribbon at the top of your window.

3. Click on “Symbol” at the far right in the ribbon. Choose “More symbols” from the drop-down menu that appears after clicking on the symbols.

4. Select your document’s current font in the “Font” drop-down.
5. Choose “Latin -1 supplement” from the “Subset” drop-down on the right.
6. Scroll through the characters to find the degree symbol and click on it.

7. Click on the shortcut, and a dialog box will appear.
8. Click on the box below to assign new shortcut keys.

9. Select and press the keys you wish to assign, for instance, “Ctrl + Alt + E.”
10. Click assign, then click on Close twice.
Test the shortcut you have created in your document by pressing the keys you assigned.
How to create an Autocorrect shortcut to help add degree symbol in Word
1. Place your cursor in the word document.
2. Click on the “Insert” tab ribbon at the top of your window.

3. Click on “Symbol” at the far right in the ribbon. Choose “More symbols” from the drop-down menu that appears after clicking on the symbols.
4. Select your document’s current font in the “Font” drop-down.

5. Choose “Latin -1 supplement” from the “Subset” drop-down on the right.
6. Scroll through the characters to find the degree symbol and click on it.
7. Click autocorrect, and a dialog box will appear.

8. Select a character you want to use and enter it in the Replace dialog box. For instance, you can choose “b.” The degree symbol should appear on the right of your selected character.
9. Click on Add, then OK, and finalize by clicking on Close.
When you want to use the autocorrect entry, type the character you entered in the Replace dialog box and press the spacebar, and the degree symbol will appear.

