
Free picture retouching and enhancement software are available under the GNU Image Manipulation (GIMP) Software. A Color Picker Tool that samples a tiny portion of your image file is available in GIMP. The chosen color sample can then be duplicated to another image area, either as the foreground or background color. For instance, you can fill a shape made by an outlining tool from the Toolbox by copying an accent color from the image. Any image that has been opened on your screen can have a color selected using the Color Picker Tool. You can switch the active color of a picture to the color underneath the pointer by clicking a point on the image. The tool only works on the current layer by default, but the Sample Merge option allows you to select the color as it appears in the combined image once all layers have been combined. Only colors in layers that are visible are used. When you click on the image, an Information window appears. GIMP provides you with the Color Picker Tool to get color from an image. We will provide you with the steps that you can use to get color from an image in GIMP.
You can get color from an image in GIMP by using the following steps:
1. Open GIMP on your computer.
2. Go to the File menu.
3. Click on Open or New to create or open the image you want to get color from.

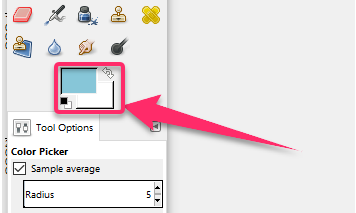
4. Click on the Color Picker Tool icon on the Toolbox to the left of the magnifying glass icon.
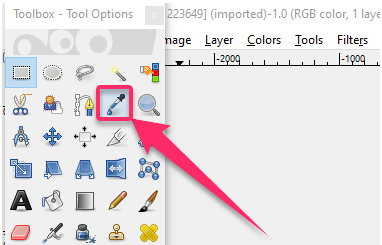
5. The icon shows an eyedropper and a blue drop.
6. On the Color Picker section with options, click to check the Sample average section if you want to adjust the color sample size.
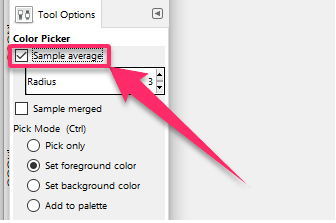
7. Click the slider button on the Radius scale and drag to the left to decrease the sample size or drag to the right to increase the sample size.

8. Click on the radio button to choose an option for the Pick Mode (Ctrl) category in the color Picker section that is either Set foreground color or Set background color.

9. Click on the image to select the color you want to copy.
10. A color swatch appears near the middle of the Toolbox.
11. Click on a tool icon to apply this color copy.
12. For instance, you can click the Rectangle Select Tool.

13. Click and drag on the image to apply a rectangle that shows a moving and broken outline.
14. To fill the triangle, click the Bucket Fill Tool icon.

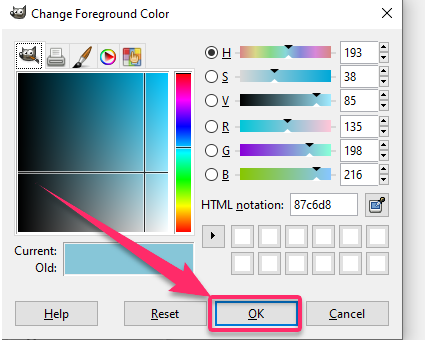
15. Click the color swatch to open the dialogue box with options to change this color.
16. Click OK.
17. Click in the rectangle to fill it with the color you copied.

18. Go to File.
19. Click Save As to save the image with a new file name.

You should have gotten the color from an image.