A virtual museum is a digital tool used to show a museum in the virtual world. It allows the user to move around from one building to another, but virtually. It is a good way of making the Google Slide fun and engaging. Let us discuss ways of making a virtual museum in Google Slides.
Using a virtual museum Template
Table of Contents
Follow these steps while using this method to make a virtual museum in Google Slides.
1. Getting the Virtual museum template ready.
- Download the template or open it in Google slides.
- If the template prompts you to download, download and save it on your device.
- Then, open your Google Drive, click the New button followed by the file upload button

- Locate the downloaded template and upload it on your Drive from your device.
Note: For example purposes, we will use the virtual museum template from this site https://docs.google.com/presentation/d/1hybAwgwMkN2f2WBYSjU9pubdFMe9Xu4K4KGzgUiTtDw/edit#slide=id.g10dfd9801_17
2. Open the template in Google Slides.
- After uploading the template in Google Drive, locate it and Right-click on it.

- Next, select the open with button, and select the Google Slides option.
- Alternatively, open the document and then locate the Open with the drop-down button at the top of the screen.
- Click on it and choose the Google Slides option.
3. Rename the Google slide template.
- On the opened document, click on the template’s name.
- Edit it, and add the name of your virtual museum presentation.

4. Edit the template and add your details.

5. Finally, you can print or download the document.
- To download, click the file tab, locate the download button, and select the type of document format you need.
- To print, click the file tab and locate the print button.

Using Bitmoji Extension to create a virtual museum
Follow these steps while using this method:
1. Install Bitmoji extension.
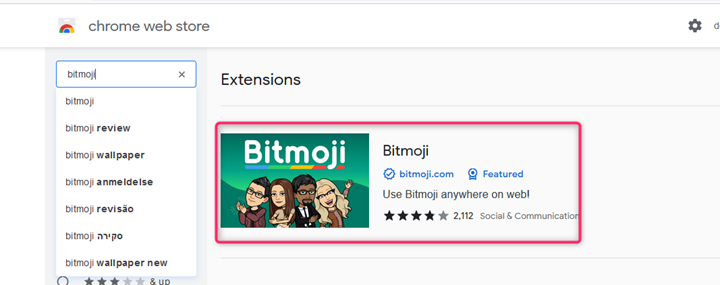
- Visit the web store site, and download and install the Bitmoji extension. That is, go to https://chrome.google.com/webstore/

- Log in to your Bitmoji account.

2.
Log- into your Google Slides.
- Open a browser of your choice. In Google, search for Google Account.
- From your Google Account, locate the Google Slides App from the Google Apps, and click on it.

- On the Google Slides screen, locate the Blank document (with the rainbow plus sign).

- Click on it to open an empty Google Slides Document.
3. Rename the Google slide document.
- On the opened document, Click on the untitled presentation.
- Edit it, and add the name of your virtual museum presentation.

4. Choose the layout of the document.
- Go to the Slide tab.
- Click on the layout, and then select the blank option.

5. Choosing museum icons from Bitmoji.
- Re-open the Bitmoji extension.
- Locate the museum’s icons.

- You can drag and drop it in your Google Slide document or download it.
- Open the Google Slides and insert the downloaded image if you use the download tool.
6. Formatting the selected icon.
- On your Google Slides, position and resize the Bitmoji icon.
- Next, you can add the museum narrative information.

