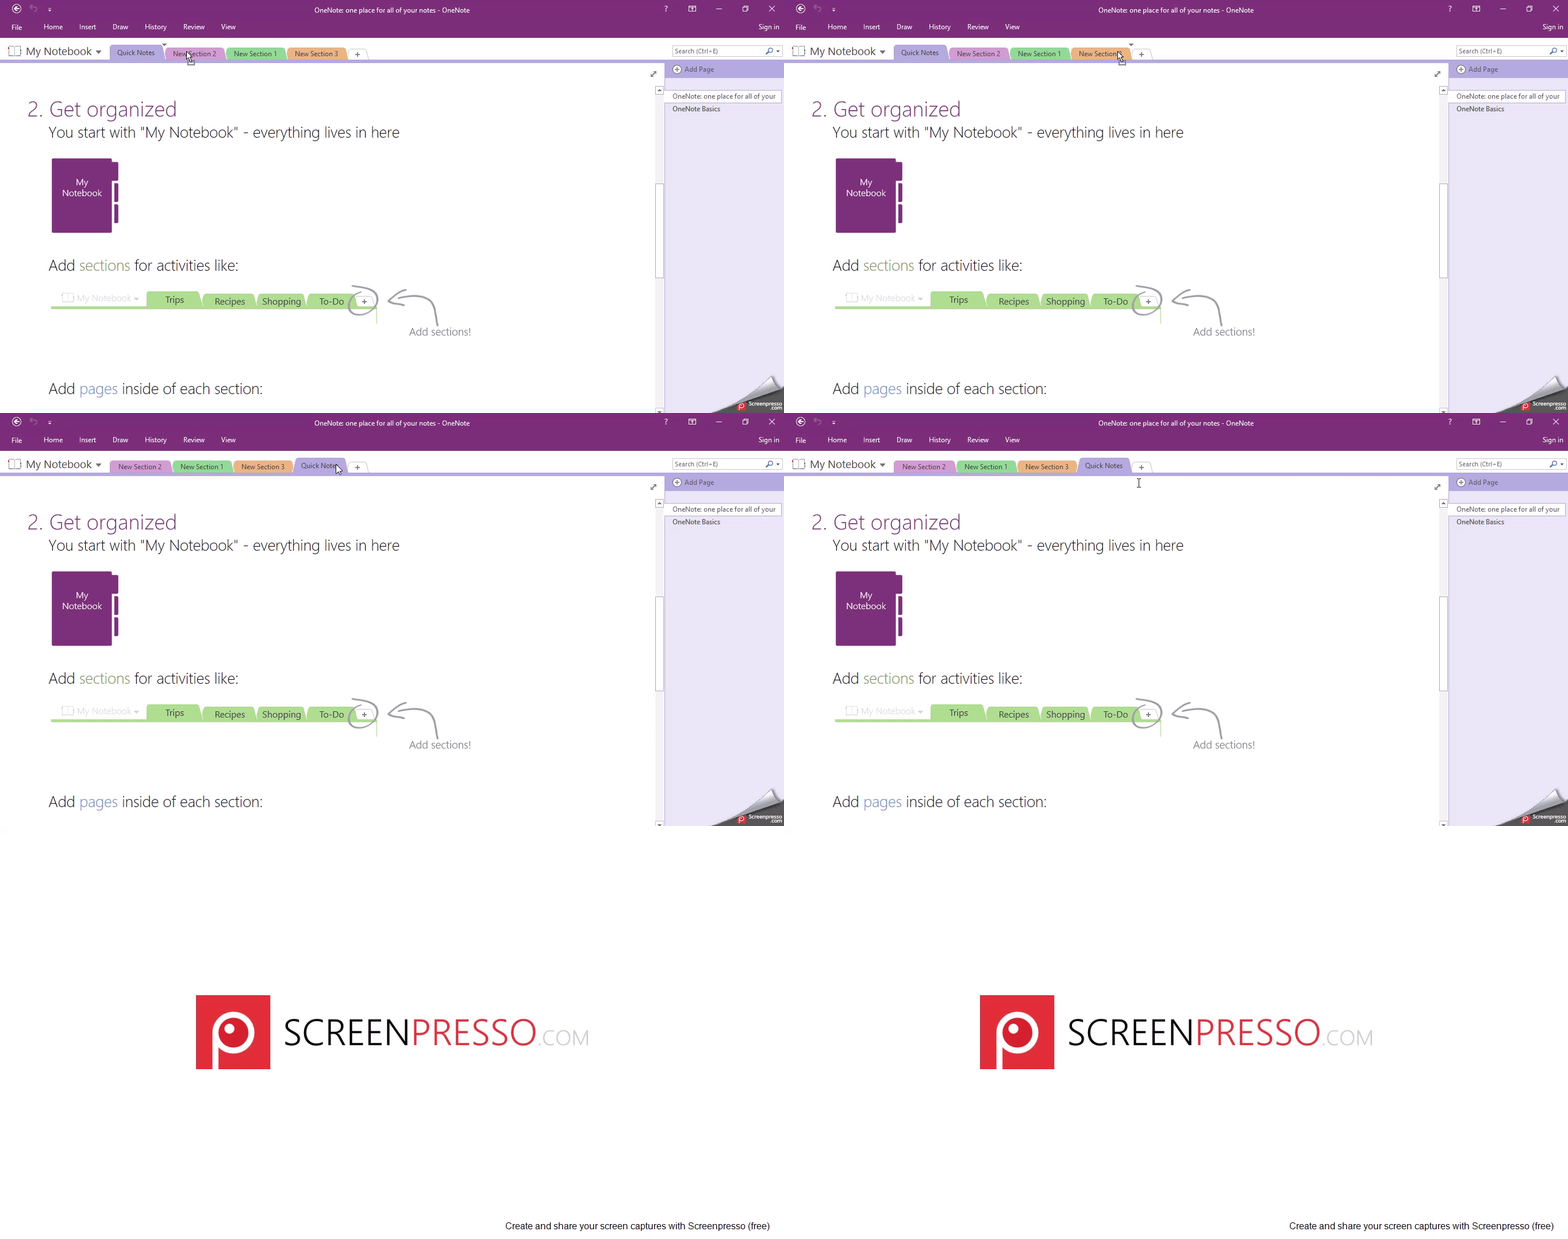
Your notes, research, data, and other items can all be kept in the OneNote app. They are convenient for information discovery, printing, and sharing. The best aspect is that all of your notebooks are online and accessible from anywhere. There are numerous traits that they have. Each notebook has automatically created sections and can include pages arranged in any way we choose. The sections and pages of the notebook will, by default, be placed at the top and the right sides, respectively, when it is created. Even though we can rearrange things and shift the pages and tabs to the left, most people like it to be in one location for convenience. The Section tab at the top will display a list of all the created notebooks. And the right side will have a list of the tabs in each part. We will provide you with the steps you can use to move tabs to the left in OneNote.
How to Moves tab to the left
Table of Contents
You can move tabs to the left in OneNote by following this easy step.
Click and hold on the Tab you wish to move to the left then Drag it to the position you wish.

How move pages to the left on OneNote
1. Open OneNote on your computer by typing OneNote in your search bar and clicking on it.

2. When prompted to log in, provide your Microsoft account login details, and OneNote will open.
3. If you have made any notes, you can see them on top and pages on the right.
4. Click on the name of the notebook.

5. A pin bar appears on the right.
6. Click on that pin bar.

7. You will see all the tabs on the left, which you can expand and collapse by clicking the drop-down menu in every section.
8. Click on File at the bottom left corner of the OneNote window to get the tabs to the left.

9. Scroll down, and on the left bottom, you will find Options and click on it.

10. Click on Display on the OneNote options window that appears.

11. Select the checkbox Page tabs to appear on the left.

12. Click OK.

13. All your tabs will be on the left.
You have successfully moved your tabs to the left in OneNote. Now you can move your tabs to the left for easier access. Remember to practice more on how to do the steps to better yourself because, as we all know, practice makes perfect! All the best as you learn more about using and navigating through OneNote.

