

Word document has pages as opposed to Excel, which has columns, and Excel. However, did you know you can easily create columns from a Word document? This post will discuss how to work with columns in Microsoft Word.
How to make columns
Table of Contents
1. To get started, locate the Word application on your Pc. Double-click on it to open the application.
2. Select or highlight the text you want to split into columns. To select all the readers, press the CTRL + A keys. To choose a section of your document, press the left mouse, and then move the cursor over the text you want to select.

3. On the toolbar section, click on the Layout tab.
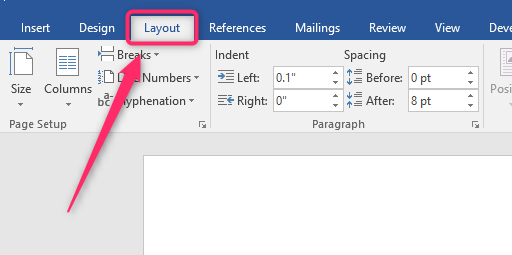
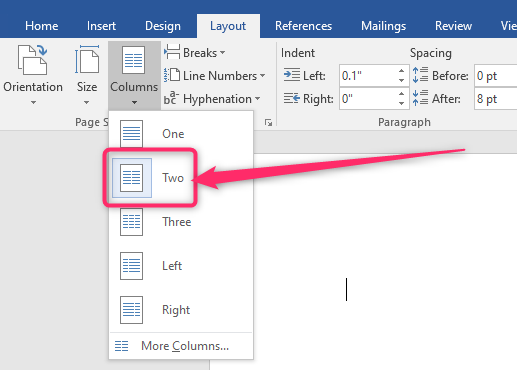
4. Locate the Page Setup section, then click on the Columns drop-down button.
5. From the drop-down menu, choose the number of columns you want.
How to type on the second column
After typing on the first column on the page, you may need to move to the next column. Keyboard keys cannot be used to navigate to the second column, so workarounds must be followed.
Steps to follow to achieve this:
1. Locate the Word icon on your Pc and double-click on it to open.
2. Press CTRL + O keys to open the document you are working on.
3. After you are done with column one, click the Layout tab on the toolbar.

4. Click on the Breaks drop-down button in the Page Setup section.

5. From the menu, click on the Column option. Now you can quickly write in the second column.
Using a table to create Two columns
Here are the steps to follow when using this method:
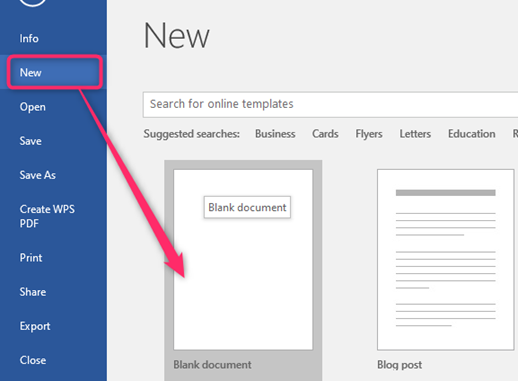
1. To get started, locate the Word application on your Pc. Double-click on it to open the application. To create a new document, click the File button on the toolbar. Then, locate the New button.
You can also use the keyboard shortcuts to open a new document. That is, CTRL + N. Alternatively, open an existing document that you need to add the two-column.
2. On the opened document, locate the Insert button on the toolbar.

3. Locate the Table drop-down button, and click on it. Select a table with one row and two columns.

4. Resize and position the table to fit on your page. Use the table Side handles to resize and position the table.
5. Highlight the created table. Click on the Design tab in the Table Tools section.
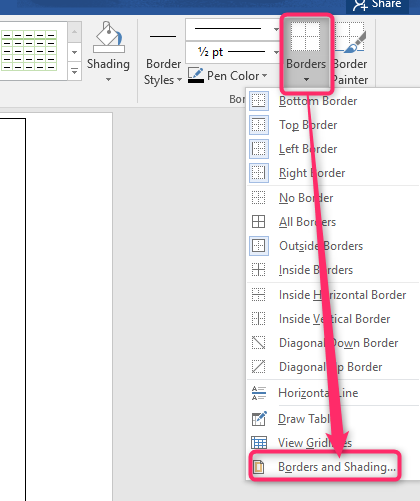
6. From the Borders section, click on the Border drop-down button.
7. Then, select No border from the menu. This will remove the table borders, and the page will be divided into two sections.

8. Alternatively, click on the Border and Shading button.
9. Then, on the Border and Shading dialogue box, click on the Page Border tab.

10. Click on the Color drop-down button, and from the list of colors displayed, choose the White color. Finally press OK.