
Pictures are some of the vital elements that are found in a Word document. Numerous workarounds are related to images in Word. Did you know you can easily edit picture using Word? This post will discuss some workarounds that must be followed in editing photographs.
How to blur part of the picture
Table of Contents
To blur means to reduce the visibility of the picture. Below are the steps to blur part of the picture in Word:
1. Locate the Word icon on your Pc and double-click on it to open.
2. Press CTRL + O keys to open the existing document or a new document to that you want to add the image.
3. Click on the Insert tab, and locate the Illustrations section.

4. Click on the Pictures Button. You will be prompted to select the image to add to the page. Finally, click the Insert button.

5. Click on the added image, and locate the Format tab in the Picture Tools section.

6. Locate the Adjust section, and click the Artistic Effects drop-down button.

7. From the menu, choose the option to blur parts of your picture.
How to wrap text around a picture
Steps to follow:
1. To get started, you need to add the image. Click on the Insert tab, and locate the Illustrations section.

2. Click on the Pictures Button. You will be prompted to select the image to add to the page. Finally, click the Insert button.

3. Click on the added image and the Layout Options button.
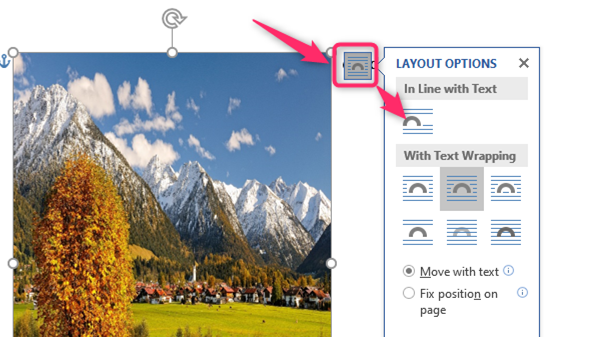
4. From the options, choose the In line with Text option.
How to write on picture
Steps:
1. Press CTRL + O keys to open the existing document or a new document to that you want to add the image.
2. Click on the Insert tab, and locate the Illustrations section.

3. Click on the Pictures Button. You will be prompted to select the image to add to the page. Finally, click the Insert button.

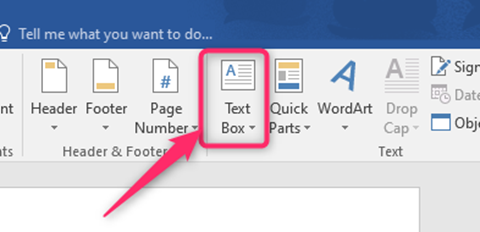
4. Click on the Insert tab on the toolbar.
5. Locate the Text section, and click the Text Box drop-down button.
6. From the menu, choose the text box you want.

7. Edit it and add your details. Then, resize and position the text box to fit in the image.
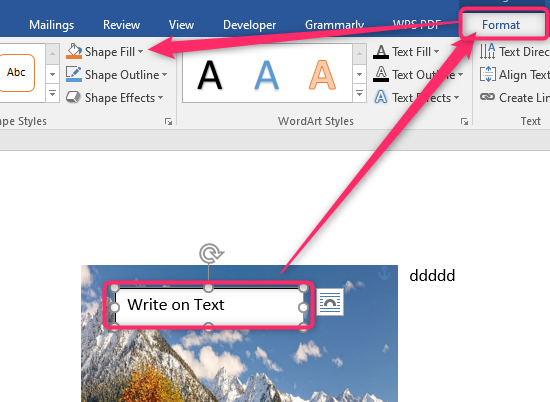
8. Click on the Text box and then the Format tab on the toolbar.
9. Click the Shape Fill drop-down button, and select the No Fill option.

How to overlay pictures
To overlay pictures in Word, you have to do these operations first:
Allow Overlap
Adjust image layout
a) Allow Overlap
Steps:
1. To get started, you need to add one image.
2. Click on the added image and the Layout tab on the toolbar.
3. Click the Position drop-down button and More layouts Options button.

4. Check the allow overlap button from the box and hit the Ok button.

b) Adjust image layout
Steps:
1. Click on the added image and the Layout Options button.

2. From the options, choose any other layout apart from In line with the Text option. Then, go ahead and add the second image.