Sometimes, when you take certain photos, you may need to blur some parts of the images, especially if they contain sensitive information. Blurring an image means making that selected part of the image less sharp and hence noticeable. It will distort the details of that particular part of the image. It also emphasizes private or unnecessary information but does not obscure it completely. The viewer can tell that something is there and see how it fits into the full image but cannot make it out completely. For instance, taking screenshots is necessary if you frequently write how-to articles about technology. Additionally, you frequently do not want the screenshot to be used exactly as it is. You want to block specific image portions to safeguard sensitive data, such as an email address or username. GIMP allows you to achieve this by blurring a portion of an image. GIMP lets you censor it. Alternatively, GIMP can pixelate the area you want to censor. It provides you with the tools that you use to blur that part of the image and hide the information. Luckily, the process of blurring the part of an image is not complicated when using GIMP. We will provide you with the steps you can use to blur part of an image in GIMP.
You can blur part of an image in GIMP by using the following steps:
1. Open GIMP on your computer.
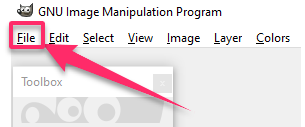
2. Go to the File menu.
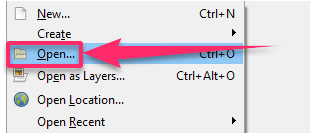
3. Click on Open or New to open or create a new image in GIMP.
4. Select the part of the image that you would like to make a blur.
5. In Toolbox, select a tool you want to use according to the part you want to censor.
6. You can select either the Rectangle Select Tool, the Ellipse Select Tool, the Free Select Tool, Fuzzy Select Tool, the Foreground Select Tool, the Select by Color Tool, or Scissors Select Tool on its icon in Toolbox.

7. Go to Filters.
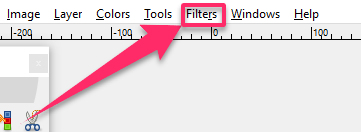
8. Click on Blur.
9. Select the blurry effect that you want to use to censor the select part in the drop-down menu that appears. For instance, you can select Pixelize.
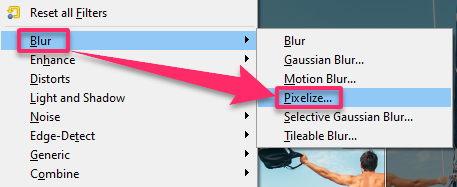
10. On the dialog box that appears, you can alter the block value by clicking the arrow icons found in every parameter.
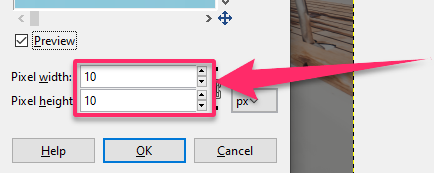
Now you can see the blurry effect on the part of the image you selected because GIMP supports live preview. If you wish to pixelate other areas, you can use a selection tool to select the areas you want to pixelate. You may use the same filter by pressing the keyboard’s Ctrl + F. With the same settings, this shortcut will run the most recently used filter again. You can also use the other filters according to the part of the image that you selected. We wish you all the best as you learn more about blurring in GIMP.

