The active layer, a selection, or a route can be rotated using the Rotation tool. With this tool, a Rotation adjustment dialog opens when you click on the image or the selected area. The rotation angle and the point-marked rotation axis can both be adjusted there. Dragging the mouse pointer over the image or the rotation point will accomplish the same. The Transform Direction controls the rotation of a layer. As one might anticipate, the coating will rotate in the Normal mode. A layer will appear as though it has been rotated 10 degrees to the right. Corrective rotation is incompatible with this behavior. Digital photographs that are not straight are typically fixed using corrective rotation. For example, you need not attempt to rotate by that angle if the image is 13 degrees misaligned. Corrective rotation enables visible rotation and aligns the layer with the image. As a result of the transformation being reversed or carried out backward, the image will be rotated to a large enough degree to fix the mistake. We will provide you with the steps you can use to tilt an image in GIMP.
You can tilt image in GIMP by using the following steps:
1. Open GIMP on your computer.

2. Go to the File menu.

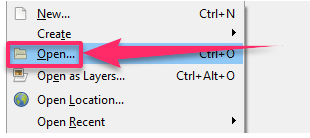
3. Click on Open and select the image you want to tilt.

4. Click Open.

5. Go to the Tools menu.

6. Click on Transform Tools.
7. Click on Rotate.

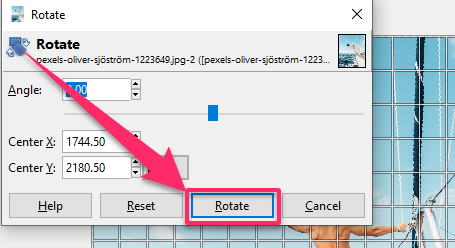
8. A dialog box opens, asking for the rotation angle.
9. Specify the rotation angle.

10. Click on the Rotate option to automatically tilt the image to the given angle.

11. If unsure about the rotation angle, click on the image and drag it to your desired direction.
12. Crop the image by pressing the Shift + C keys on the keyboard.

13. Drag the image part you want to keep and hit the Enter key.
14. Go to the File menu.

15. Click on Export As.

16. Select the location and file type.
17. Click the Export button to save the image.

Similarly, we can rotate the image’s layers and other elements. As a result, we may effectively use GIMP to complete many more activities like cropping, editing, and applying filters. It is an excellent substitute for Photoshop because most of its tools are functionally equivalent. As you have noted, once you have configured the tool’s preferences, it is pretty simple to use and opens the Rotate dialog when you click on a picture in GIMP. You can click and drag directly on the image to rotate it or use the slider to change the rotation’s angle. The center point of the rotation is shown by crosshairs that appear on the layer, which you can move as needed. Using the Rotation tool in GIMP is not a complicated process, as you have noted. It is a straightforward easy to comprehend, and executed process. Remember to put it into practice to perfect your use of GIMP tools.

