

Using transparency in PowerPoint is taking a premade item and changing it to seem more see-through and less bright. It is especially great for using too eye-catching pictures in your presentation. You can also use transparent images in your background to reinforce texts. Transparency is also useful in enhancing diagrams, icons, and figures in your PowerPoint presentation. Luckily, using transparency in PowerPoint is not complicated as it is quite a straightforward process. You will not need any image editing programs. We will help you learn more about working with transparency so you can use it correctly in your presentation.
How to make a picture transparent in PowerPoint
Table of Contents
You can make a picture transparent in PowerPoint by using the following steps:
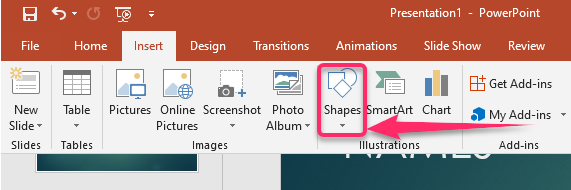
1. Select the Insert tab.

2. Click on Shapes.
3. Draw the shape in the document and make it the same size as the picture that you will add to it.
4. Select the shape.
5. Select the Format tab.

6. Click on Shape Outline.

7. Select No Outline.

8. Right-click on the shape and select Format Shape.

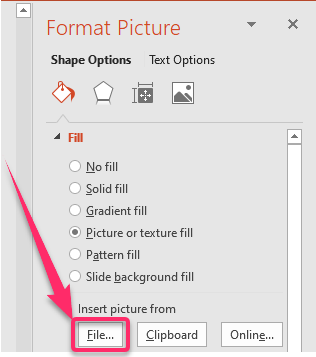
9. Click on the Fill icon in the Format Shape pane.

10. Select Picture or texture fill.

11. Click on the File button.
12. Choose the picture you want to insert in the Insert Picture dialog box.

13. Click on the Insert button.

14. Move the Transparency slider to change the picture’s transparency in the Format Shape.

How to make image background transparent in PowerPoint
You can make the image background transparent in PowerPoint by using the following steps:
1. Go to the slide where you want to make your background transparent.
2. Click the Insert tab and select Pictures to open the picture insert pane.

3. Choose the picture that you would like to use.

4. Select Picture Tools.

5. Click on Remove Background in the Picture Tools Format tab.

6. Select Mark Areas to Keep or Mark Areas to remove when the background of the selected image turns pink.;

7. Draw a line around the image area.

8. Select Keep changes to apply the edits you made. ;

9. If you do not like the transparency level, you can do the steps again.
How to make image transparent in PowerPoint
You can make the image transparent in PowerPoint by using the following steps:
1. Go to the slide where you want to make the image transparent.
2. Add a rectangular shape to the slide.

3. Right-click the rectangle.
4. Select Format Shape.

5. Click on Fill.

6. Select or Picture texture fill.

7. Select Insert Picture from File to choose an image.

8. Use the transparency slider to make the picture as transparent as possible.

How to make shape transparent in PowerPoint
You can make the shape transparent in PowerPoint by using the following steps:
1. Go to the slide where you would like to place the shape that you want to make transparent.
2. Select the Insert tab.

3. Click on Shapes and choose a shape.

4. Click on the shape.
5. On the Shape Format tab that appears, select the white color under Shape Fill.

6. Right-click on the shape.
7. Select Format Shape.

8. On the new window that opens, there is a transparency slider.
9. Set the shape’s transparency to your preference by moving the transparency slider right to increase transparency or left to reduce transparency.

Having gone through the information provided above, we hope you understand the importance of using transparency in your PowerPoint presentation. We also hope the information provided was clear enough to follow.