

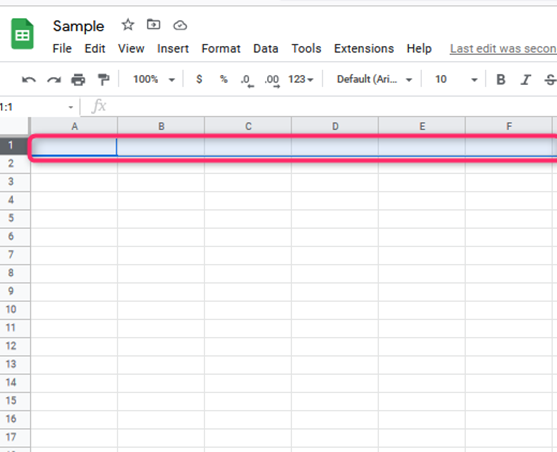
There are different ways in which to add multiple rows in Google sheets. You initially have to know the common or basic way to add a row in Google sheets. To “insert rows” in Google Sheets one at a time on top of or below a selected row, you’ll use the insert tab. The following are the various steps to insert a row on top of a selected row in Google Sheets:
Using insert tab
Table of Contents
For example, you want to “insert a row” on top of the third row ;
1. Choose the row by clicking on the row header on the left (or any cell within the dataset).
2. Click the Insert tab.

3. Then click on the ‘Row above.’

Select the ‘Row below’ within the ‘Insert’ menu drop-down to insert a row below the chosen row.
Using the Right-click menu
You can as use the right-click technique as an alternative to quickly insert one row or maybe multiple rows on top of or below the chosen row.
1. Choose the row by clicking on the row header on the left (or any cell within the dataset)

2. Right-click on the choice
3. Click on the ‘Insert one above.’

Inserting Multiple Rows in Google Sheets (Above or Below)
The steps are the same as those of one row
Use of Insert Tab
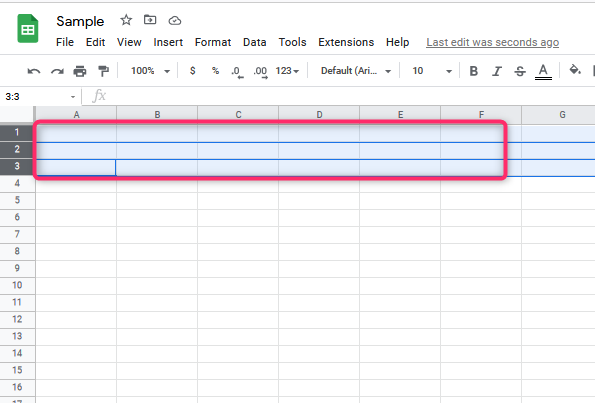
You would like to insert three rows on top of row 4; below are the steps to add the multiple rows.
1. Select three rows ranging from row #4 by choosing the row header within the left (or three cells in any row – ranging from row #4). Select 3 rows on top of that, you would like to insert three blank rows

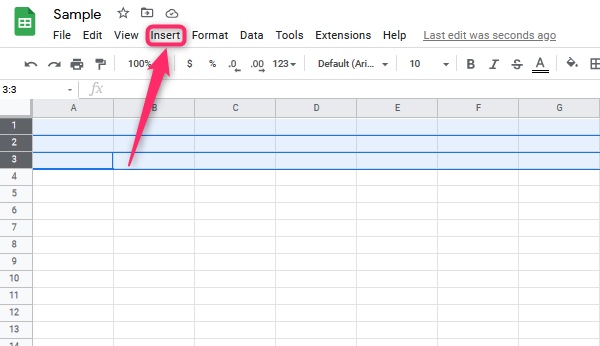
2. Click on the Insert tab

3. Click on the ‘3 Rows above’ choice

Note
These steps can insert as many rows as you wish. If you decide on five rows, it’ll insert five blank rows on top of the chosen “rows.”
Use the same technique to “insert multiple rows” below the chosen rows. Select the ‘3 Rows Below’ choice within the third step.
Use of the Right-Click Menu
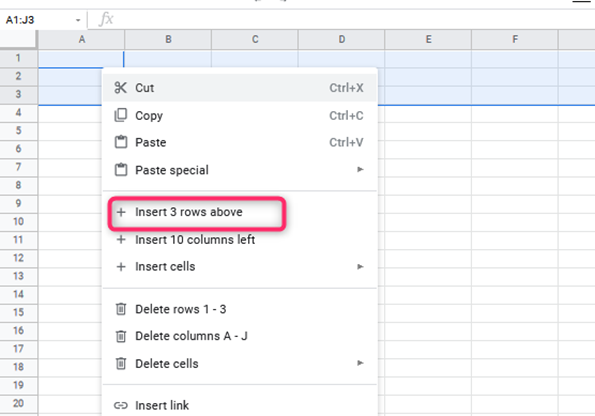
Right-click menu is different from inserting multiple rows in Google Sheets. You’ve got a dataset as shown below, and you would like to insert three rows on top of row #4. The following are the steps for mistreatment right-click menu:
1. Choose three rows ranging from row #4 by choosing the row header within the left (or three cells in any row – ranging from row #4); as an alternative, you may hold Shift and press every row one by one

2. Right-click on the chosen row headers (or cells, just in case you’ve chosen cells)
3. Click on the ‘Insert three above’ choice; Right-click followed by a click on’ Insert 3 above.’
Use the same technique to “insert multiple rows” below the chosen rows. Select the ‘3 Rows Below’ choice within the third step.
Use of the Keyboard shortcuts (F4)
In case you would like to insert multiple non-contiguous rows. For instance, you would like to insert rows on top of rows #3, 5, and 8. Since these rows aren’t following each other closely, you’ll do that at a go. Follow these steps to “insert multiple rows” in Google Sheets (above rows # three, 5, and 8) that aren’t contiguous:
1. Choose the row by clicking on the row header of row #3 (or any cell within the dataset)
2. Click the Insert tab
3. Click on the ‘Row above’ choice. It may insert one row on top of row #3

4. Choose any cell in row #5 then press the F4 key
5. Choose any cell in row #8 then press the F4 key
Note:
F4 repeats the last action you probably did in Google Sheets. Therefore if you are doing something else while inserting rows, such as copy-paste anything else using F4 at the moment will repeat that action and not insert the row. You’ll currently have to insert a row using the tab or right-click technique to begin using F4 once more.