

You may need to recover data or get to determine who made it in Google Sheets. View Edit History is a feature on Google Sheets that helps you with this. It allows you to track changes and review edits on Google Sheets. The feature also allows you to view the previous versions of the File you are working on. There are various methods of checking edit history in a Google Sheets File.
You can first use the following easy steps to see the edit history for cells in Google Sheets;
1. Open Google Sheets
2. Click the cells that you want to view the history

3. Right-click the cell using your mouse
4. Open on show edit history

5. To view edits one by one, click the arrow icons that are in the Edit history

Using the menu option method
Table of Contents
Use the steps below;
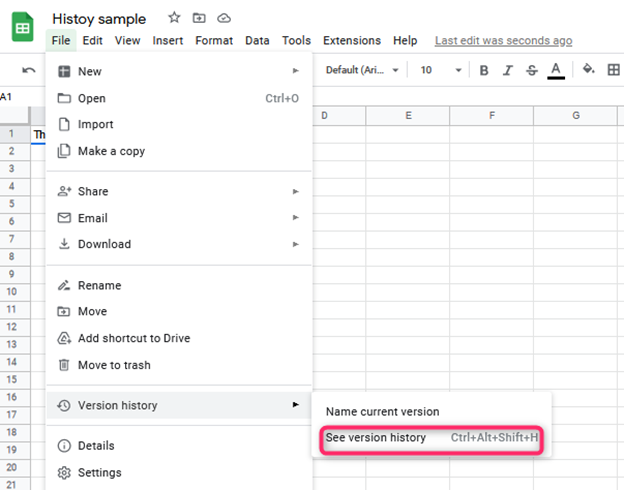
1. Open on File at the top left corner of your screen

2. Click on Version History

3. Open See Version history
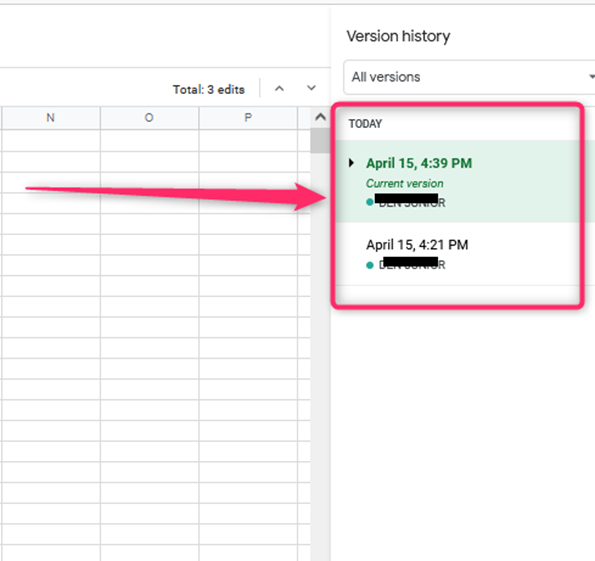
The feature allows you to restore permanently the past version of the File you are working on. The sidebar appears on your screen and lists all the available versions of the File. The versions are labeled with the date, time, and editor who made the changes when the work was last saved. To identify where the File was changed, ensure the ‘show changes’ box is checked. The changes that were made will then be highlighted. In this case, you will select the past version you would like to restore, then select this version.
Using the Keyboard combination
This keyboard combination involves; Ctrl+ Alt+ Shift+ H or you can use Cmd+ Alt+Shift+ H for Mac. You will thus be able to access the sidebar that contains past versions of the File you are working on.
Making Copies
With Google Sheets, you can make copies of the old version of the File you are working on. Therefore, you can access the older version of your File without misplacing the current File. To do this, follow the simple steps below;
1. Go to the edit history sidebar
2. Select More options
3. Choose to Make a Copy
Naming Version of your File
Google Sheets files are named according to the time date and last editor of the File. However, it can become difficult to track the files with frequent editing and updating of the file’s data. It is important to rename these various versions to track them whenever you need to easily. It is quite easy to do this with Google Sheets. You can use the following steps;
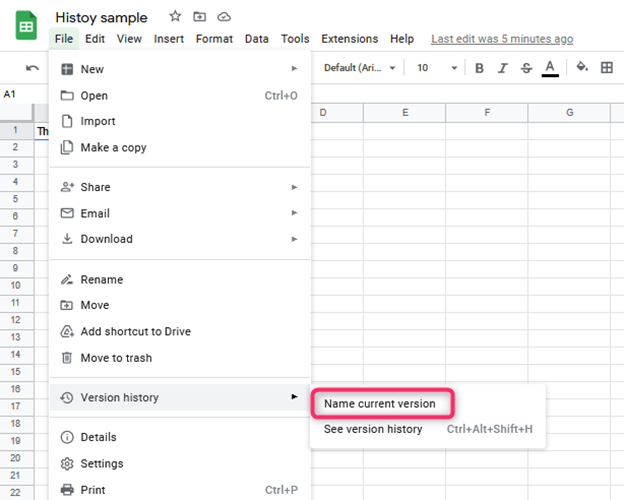
1. Click on the File tab at the top left of your screen

2. Go to Version History

3. Select Name Current Version
You can also use the previous menu option or keyboard combination. In this case, use the following steps;
1. Open the file tab

2. Go to more actions
3. Select Name this version