Sometimes when using GIMP, you might want to draw a circle. Drawing a circle is an important task for any image editor. You might notice that there is no Draw Circle tool available in GIMP. However, there are several methods you can use to draw a circle using the tools that are provided by GIMP. You can use the Path tool to create a vector circle to which you can add a border. You can also use the Select tool that makes a circular border from the Ellipse Select function. The same function used in the Select tool can be used to create a circle that has no border. We will provide you with the steps you can use to draw a circle in GIMP using the Path tool.
You can draw a circle in GIMP by using the following steps:
1. Open GIMP on your computer.

2. Go to File.
3. Click on Open or New.

4. Click on the Ellipse Select tool in the upper-left corner of the toolbox that looks like an oval with a dashed border.
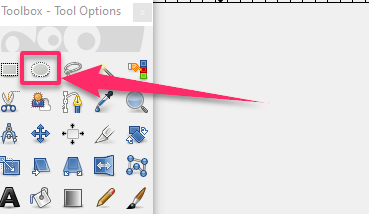
5. Click it and drag it on your canvas to start creating an eclipse. You will be making a freeform ellipse shape by default.
6. Press and hold the Shift key on your keyboard while dragging to create a circle. Holding the Shift key after you start dragging allows you to create a perfect circle instead of creating a freeform ellipse.
7. Go to the Select menu from the GIMP menu bar.
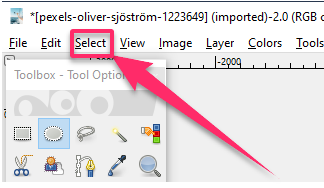
8. Select To Path to create a vector object from your circle.

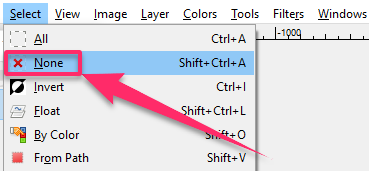
9. Click on the Select menu again and select None. The circle that you created will disappear.
10. Select the color you want to use for the circle border in the color picker.
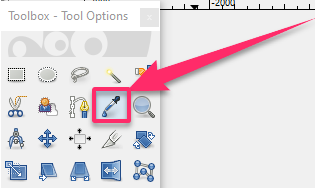
11. Click on the current foreground color in your Toolbox and choose the color you would like to use for the border of your circle.
12. Click on the Edit menu.
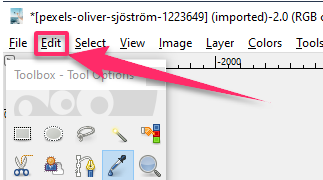
13. Select Stroke Path.

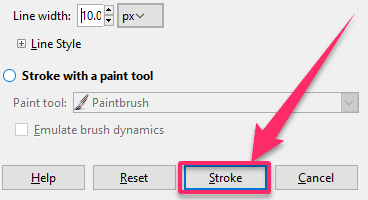
14. On the new window that pops up, set the width of the circle border in the Line width field. You can use the pixels unit of measurement or change it to your preferred unit of measurement.

15. Click on Stroke to create a circle.
16. The circle is created with the border and in the size and color that you chose to use.

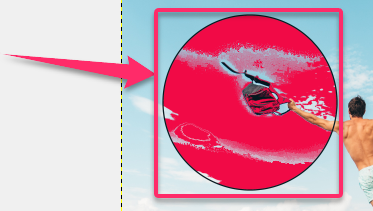
17. You can use the Bucket Fill tool to fill the circle with a different color after it is created.

18. Select the color you want to use from the color picker.
19. Click inside the circle with the Bucket Fill tool selected.
20. Go to File.
21. Click on Export As to save the picture.
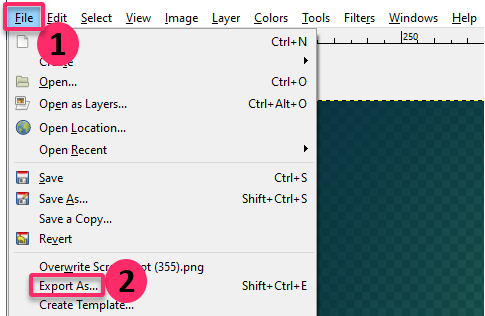
22. Enter the location to save the file.
Your circle should now be created on your canvas. While you have mastered the steps above, you might need some practice to be able to draw an ellipse and create a perfect circle. All the best!

