

Flipbook is an e-book that has pages that can be flipped and turned. The flipbook booklet has images or information from one page to the following such that the information flows each other from one page to another easily. Flipbooks are currently replacing PDFs, and therefore there’s a need to know how to create them. Google Slides have created a good platform that allows the creation of Flipbooks. Let’s discuss how to create Flipbooks in Google Slides.
Creating Google Slides Flipbook using Flipsnack
Table of Contents
Flipsnack is an online tool that is used to create interactive flipbooks. Follow these steps to create a flipbook from Google Slide:
1. To get started, you need to create a Google Slide Flipbook.
Log in to https://www.google.com/account using your email details. Locate the Google Apps icon and click on it.

Then, select the Slides option.

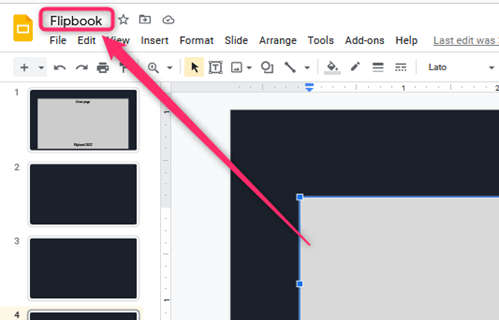
On the first slide, this is where you will add the cover page of your Flipbook.

Add other pages of the Flipbook.
Finally, add the last page of your Flipbook.
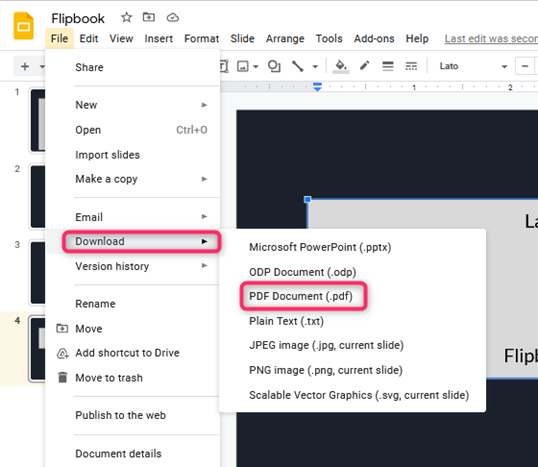
2. Next, download the Google Slide flipbook as a pdf document. Go to File>Download>PDF document.
3. Open the Flipsnack using your account’s details. If you don’t have an account, you only need Google Account details to create one.

4. After logging in to your flip snack account, upload the pdf flipbook. Use drag and drop to add the pdf into a flip snack.
5. After uploading the file, click the Next button, and the Flipbook will be converted to an interactive and presentable Google slide Flipbook.
6. You can go ahead and publish the Flipbook.
A simple Google Slide Flipbook
To create a simple Google Slide flipbook, follow these steps:
1. To get started, you need to have a Google Account. Then, log in to your account using your Google Account details.
2. Open the Google Slides from the Google App list. Select the Blank document. That is the one with the rainbow plus sign.

3. On the first slide is where you’ll add the cover page of your Flipbook. Therefore, edit it to add your cover page details.

4. Go to the next slide, and add the Flipbook’s details. Do this to other slides.
5. Finally, on the last slide, this is where you’ll add your last details of the Flipbook.

6. The simple Flipbook will be saved on your drive. You can download and save it.

Creating Google Slide Flipbook using a Template
There are already made templates that can simplify creating a flipbook. Here are the steps to use a flipbook:
1. Log in to https://www.google.com/account using your email details. Locate the Google Apps icon and click on it.
2. Then, select the Slides option. Then, click on the Flipbook template from the list of templates displayed.
Alternatively, visit this link to get a flipbook template https://docs.google.com/presentation/d/1Dt_6TQlAYZFJhet9_iSIYgK1L_Lui-mJRlK3uMCyrfo/edit#slide=id.p4\

3. Next, edit the template and add your Flipbook’s details.
4. In the Untitled presentation section, add the name of your Flipbook.
5. That is all. The Flipbook will be saved on your drive.