

Funnel drawings are used mainly for business and marketing. Each section of the funnel represents a percentage loss, the reason why the funnel is depicted in descending order. The funnel infographics show which area the business owner has to improve in to attract many clients. Funnel diagrams allow business owners to explain proportions by evaluating the business’s success and failures. This article gives you simple guidelines that you can use to create your funnel in Google Slides.
Follow the easy steps below;
Table of Contents
1. Draw a triangle by following the steps below
2. Open Insert Tab
3. Choose Triangle

4. Choose the triangle you want by; Open Format

5. Go to Rotate

6. Choose the vertical Flip

7. Take the Trapezium that is in the shapes after opening Insert Tab
8. Rotate it by Open Format Tab

9. Click on Rotate and rotate it vertically
10. Place the rotated trapezium over the triangle you had earlier made.
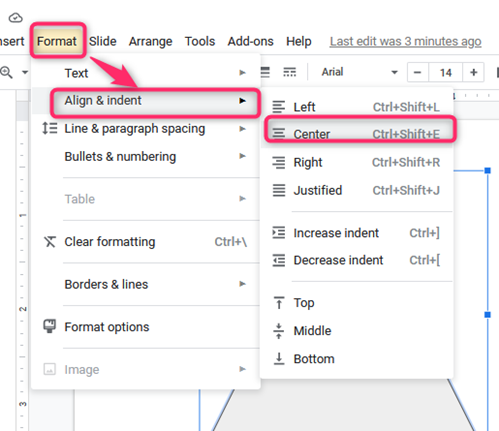
To align the shape you have made, do this;
- Open Format Tab
- Click on the Align option
- Choose Align Centre
Now draw three rectangles with minimal width on the shape you had earlier made. This is done in the following way.
- Click on the Rectangle option under the shapes menu in the Insert Tab

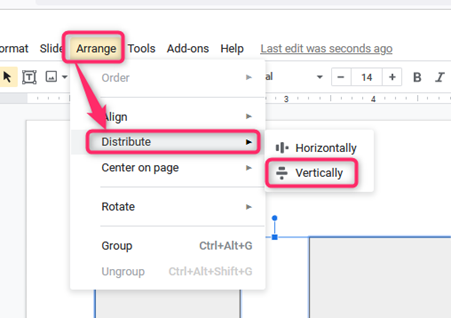
To place these rectangles at equal distance from each other, do the following;
Select the shape
Press Shift Key
Click on the three rectangles you have drawn
Open Arrange tab
Select on Align option and click on Distribute vertically.
Using the Shift key, select the shape and then the rectangles you have drawn and Click on Format Tab> Open Merge Shapes> Click on Fragment. Click on the rectangular shapes that have just been fragmented, then click on Delete. Now place a rectangle that is rounded above the shape you have drawn.
1. Open Insert Tab from the menu> Click on Shapes> Select Rounded Rectangle

Drag the yellow square box to the right to make your shape curved. Now place oval shapes on the drawing by using the steps below;
2. Open Insert Tab from the menu
3. Click on Shapes> Select Oval shape. Use the Shift + Ctrl keys to copy the shape you have drawn
You now have to fill in the required colours in the drawn shape. Do this by;
Open Shape from the Insert Tab> Click on Fill> Select Solid Fill> Click on Colour and choose the colour you want. Click on Line> select No Line. Use the same steps to fill in the colours you want for every shape.

In case you want your funnel to have a 3D look, do the following;
Open Insert >Click Shape> Rectangle

Put the rectangle on the left half of the shape you had drawn at
first (trapezium and triangle)
Select the rectangle and right click on it. Open Format> Click Fill> Colour> Choose White > select Transparency of at least 85%> Line> Click No Line
