One of the many advantages of Google Slides is that it allows you to create unique layouts in your presentation. It is, therefore, an excellent substitute for PowerPoint. This accommodates your business presentations, class, or even any other purpose. In this case, you can add a logo to your title page layout, change the colors and fonts of slide layouts, and format text into columns. This article gives you steps for creating a layout in Google Slides.
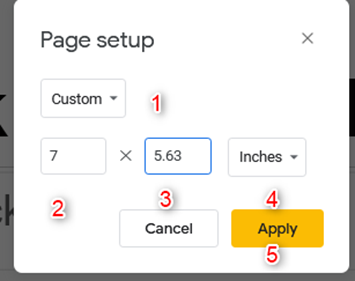
Choose the Google Slides dimensions that you would want for your layout.
Table of Contents
1. Open Page Setup. This contains the dimensions of the Slide.

2. Select the up and down arrows and select the appropriate ratio dimensions. Remember that the Google Slide size that you will use for your layout depends on the ratio of the presentation, which will either be printed out or just viewed. Use the Custom option if you want to define your ratio lengths.
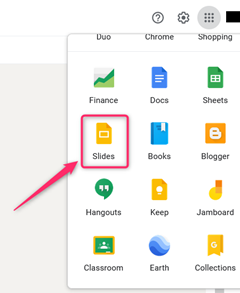
3. Open a presentation on Google Slide.
4. Open a blank Slide to the presentation you have just opened. This blank Slide is the one that you will use to create a new master layout. Select the Plus symbol (+)located at the left of your monitor screen. When a dialog box opens, choose the Blank option so that a blank slide can be added to your presentation.

5. Select the blank Slide. Go to Slide> Edit Master choice and select the Master Layout Editing box

6. Rename the layout you are using since it is no longer blank. To do this, select Rename button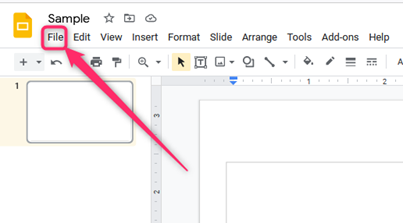
7. Select OK after typing the new name of the master layout.
8. Open the Toolbar in the menu and make any layout changes for the master layout you are using. In this case, click on Text to place a placeholder for your Text, Select Image to add a picture to the layout, Use Shape to add any shape to your layout, and click on Line to add a line to the layout.
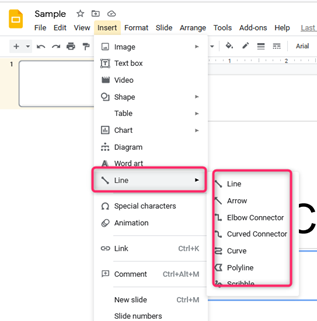
The changes you make will be applied to each Slide using the master layout you have created.
1. To change the font style, font size, and font color, click on Page Layout.

2. Click the White X that appears at the right of your monitor screen. Insert the Text the subtitle in areas that have been indicated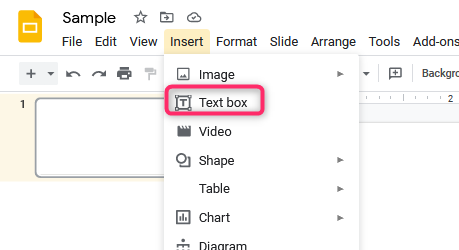
3. Apply the new master layout to Google Slides. Google Slides does not limit the number of master layouts you apply.
To apply the New Master Layout to Google Slides, do the following;
1. Click the arrow next to+ the symbol on the left side of your monitor.
2. Select the new master layout to a slide that exists
3. Select the side you want to apply it to. Right, Click, and select Apply Layout. Click on the new master layout, and thus the master layout is applied to the new Slide.
It is helpful to create your own Google Slide layouts since it accommodates many presentations.

