

The ability to create a checkbox is one of the amazing features found in Google Sheets and Excel. Checkboxes will make it easier for the different options of a word document to be read and answered efficiently. A checkbox in Sheets documents gives you a checklist functionality. From this checklist, you can tick off items that are complete, actionable, or even done. This article will discuss adding and inserting Checkbox in Google Sheets and Excel.
Inserting Checkbox in Google Sheets
Table of Contents
Adding Checkbox
Here are the steps to follow:
1. Visit the Google account and log in using your email detail (That is, https://www.google.com/account).
2. From the Google Apps, click on the Sheets icon and select the existing Sheet.

3. Enter the dataset that a checkbox will follow. Click the cell that will contain the Checkbox.
4. Click on the Insert tab on the screen, and choose the Checkbox option.

5. The Checkbox will be inserted in the selected cells.
Adding Custom values to Checkbox
Here are the steps to follow:
1. Click on the cell that contains the Checkbox.
2. Right-click on that cell and click on the Data validation option.

3. In the Criteria drop-down button, choose the Checkbox option.
4. Check the Use custom cell values checkbox; enter the checked and unchecked option to represent that.

5. on the Invalid data toggle on the Show warning option.
6. Finally, hit the Save button.
To delete the Checkbox
Here are the steps to follow:
1. Locate the Checkbox you want to delete and click on it.
2. Right-click on it.
3. From the side-view menu, hover the cursor over the Delete cells button.

4. To delete, choose the Delete and shift cell left or delete and shift cell up option.
Inserting Checkbox in Excel
Adding the Checkbox
Here are the steps:
1. Open the Excel application.
2. Click on the cell you want to add the Checkbox.
3. Then, click on the Developer tab on the screen. From this screen, click on the Insert drop-down button.

4. From the Form Control section, click on the Checkbox icon. It will be added to the selected cell.
Customizing Checkbox
Here are the steps to follow:
1. To change the name of the Checkbox, double-click on the button and then rename the box to fit your dataset. Alternatively, Right-click on the box and choose the Edit text button.

2. Right-click on the Checkbox, and click on the Format control option.

3. To change the colors and lines of the box, click on the Colors and Lines tab.

4. To increase or decrease the box size, use the Size tab.
5. To lock the box, click on the Protection tab and check the Locked and locked Text checkboxes.

6. Finally, to set values to your Checkbox, click on the Control tab and choose the Unchecked, Checked or Mixed option.

To delete the Checkbox
Here are the steps to follow:
1. Locate the Checkbox you want Delete and click on it.
2. Right-click on it.
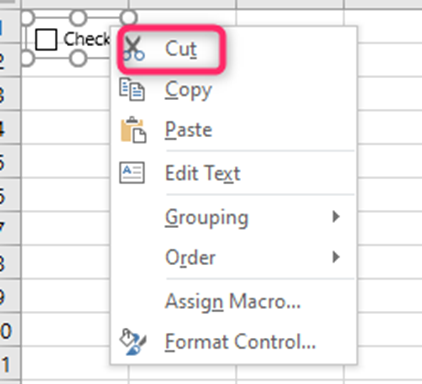
3. From the side-view menu, choose the Cut option.