A scrapbook is a book similar to a notebook or journal in which personal information or memorable images are collected. Did you know you can create a scrapbook on Google Slides? Google Slides is a powerful tool used for memorable events in a scrapbook format.
Making a scrapbook in Google Slides from scratch
Table of Contents
When making a scrapbook from scratch, you need to follow these steps:
1. Log- into your Google Slides.
- Open a browser of your choice. In Google, search for Google Account.
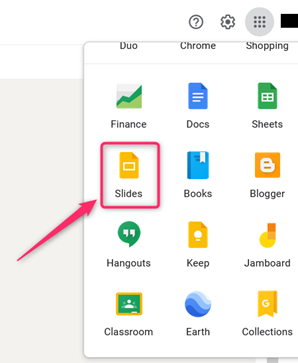
- From your Google Account, locate the Google Slides App from the Google Apps, and click on it.
- On the Google Slides screen, locate the Blank document (with the rainbow plus sign).

- Click on it to open an empty Google Slides Document.
2. Rename the Google slide document.
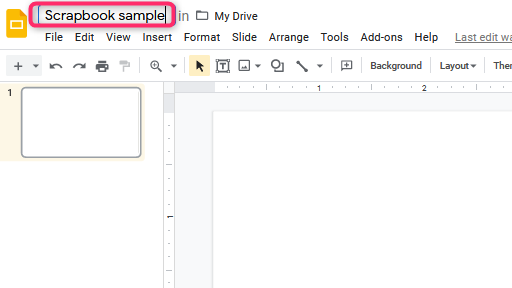
- On the opened document, Click on the untitled presentation.
- Edit it, and add the name of your scrapbook presentation.
3. Choose the theme of the scrapbook.
- On the blank presentation, add the theme that fits your scrapbook.
- Click on the theme button on the toolbar.

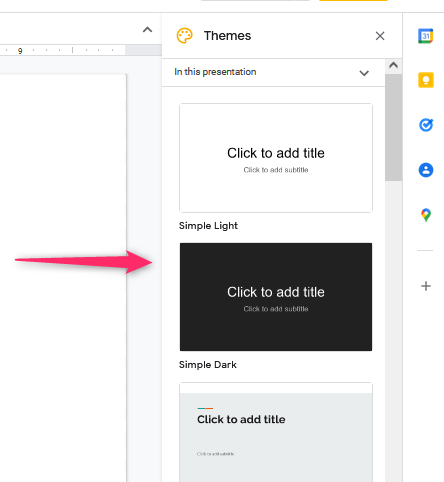
- A Theme pane opens on the right-hand side of the screen. Select the theme of your choice by clicking on it.
- To add the theme to other slides, right-click on the first Slide and click the Duplicate Slide option.

4. Choose the layout of the scrapbook.
- Click on the Layout button on the toolbar.
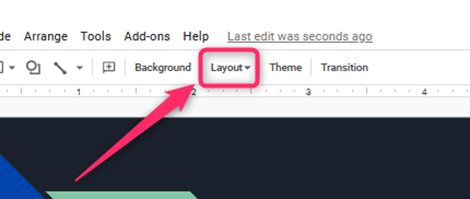
- On clicking, numerous layouts are displayed. Select one by clicking on it.

- To add the layout to other slides, right-click on the Slide that has the layout, and then click the Duplicate Slide option
5. Adding the images to the scrapbook.
- To add images to your scrapbook, click on the Insert tab.
- Then, hover the cursor on top of the image button. Select where you want to import the image.
- If your images are located on your device, click the Upload from computer button.
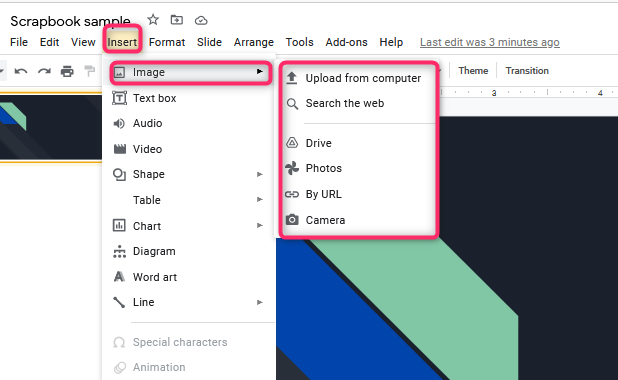
- Next, locate the image from your device, and click the open button.
Note: You can add more than one picture at once. To do so, use the ctrl button as you select the multiple images.
6. Adding texts to the scrapbook.
- To add text to your scrapbook, click on the Insert tab.
- Then, click on the Text box button.
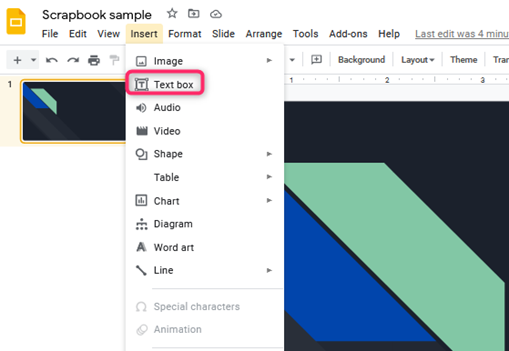
- Resize the text box and add your Slide’s details.
7. Finally, you can download the scrapbook and save it on your device.
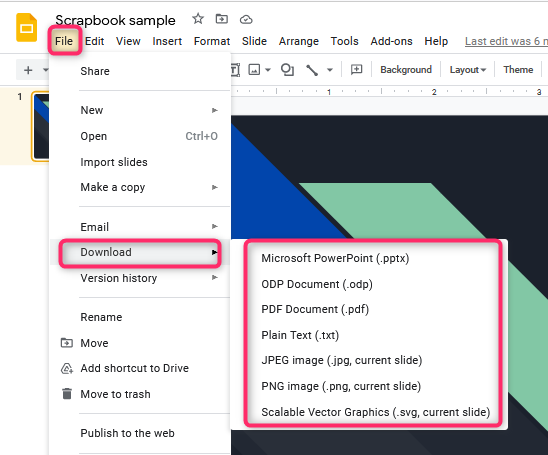
- Click on the File tab.
- Then, hover over the cursor on top of the Download button.
- Choose the document format on the drop-down menu, and click on it.
Using a ready-made template to make a scrapbook
Follow these steps:
1. On your browser, search for a scrapbook template.
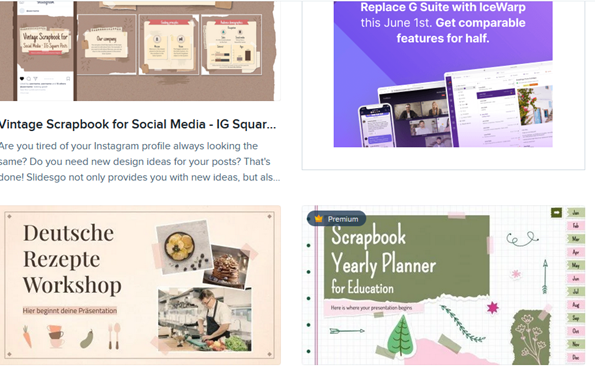
2. Open it on your Google Slides or download it.
3. If you have downloaded it, save the document in Google drive and open it using Google Slides.
4. Edit the template name, and add the name of your scrapbook presentation.
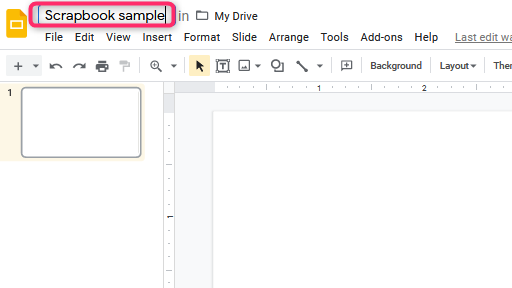
5. Edit it and add your details following the above steps.
6. Finally, download and save the scrapbook on your device.

