Google sheets have proved to be one software for creating and merging mail address labels. With Google Sheets, you can easily create mail lists, data-based mail documents, and labels. In addition, Google Sheets allows users to add and install other features that can be used to modify the Google sheet document. This article shall learn how to print address labels on Google Sheets.
Install the create &Print Labels Add-on in Google Sheets
Table of Contents
You need to install an Add-on feature to create and print address labels to get started. Follow these steps to install this feature:
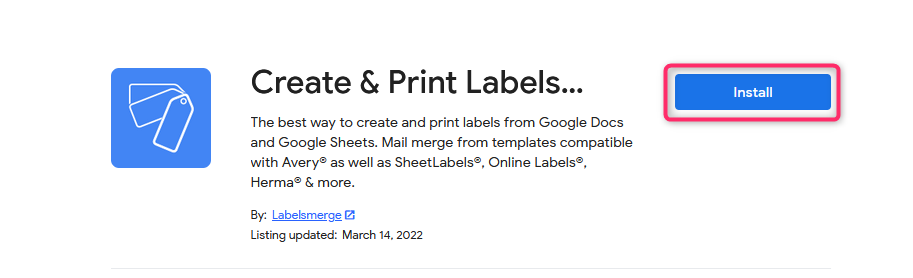
1. On your browser, go to the G Suite Marketplace page and navigate to create & print labels section. Then, click the install button.
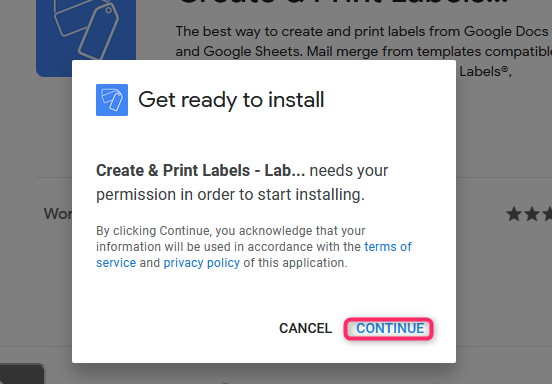
2. A Get ready to install dialogue box will be opened. To agree with the term and conditions of the Add-on, click the Continue button.
3. Next, you need instructions and permission to allow the feature to work effectively. Therefore, click the Allow button.
4. Finally, select the Google account that will use the feature installed. That is all.
Alternatively, you can install the Add-on feature from Google sheets. Here are the steps to do so:
1. On your favorite browser, go to https://www.sheets.google.com and log in using your Google Account.
2. Select the Blank document with the plus sign.
3. Next, click the Extension button, and from the drop-down menu, select the Get Add-ons.
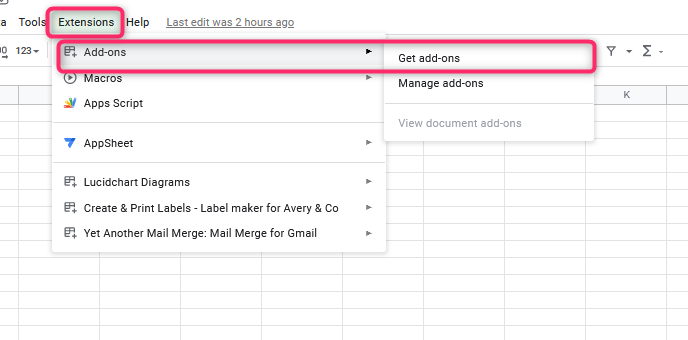
4. Search for creating & printing labels, press the install button, then the continue button. 
5. Finally, click the done button.
How to print labels on Google Sheets
Here are the steps to print labels on Google sheets:
1. On your favorite browser, go to https://www.sheets.google.com and log in using your Google Account.
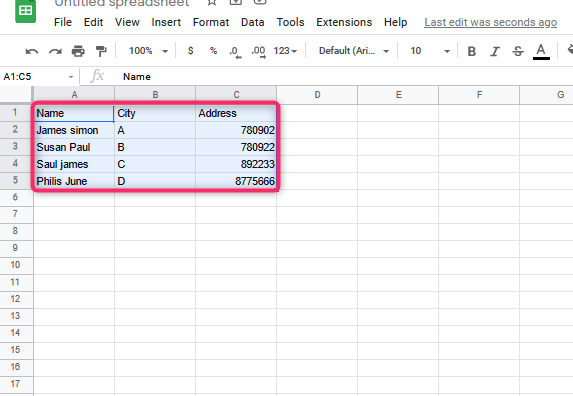
2. Select the blank document, and enter the dataset you wish to print.
Note: Your dataset should contain headers so that the label maker will work effectively.
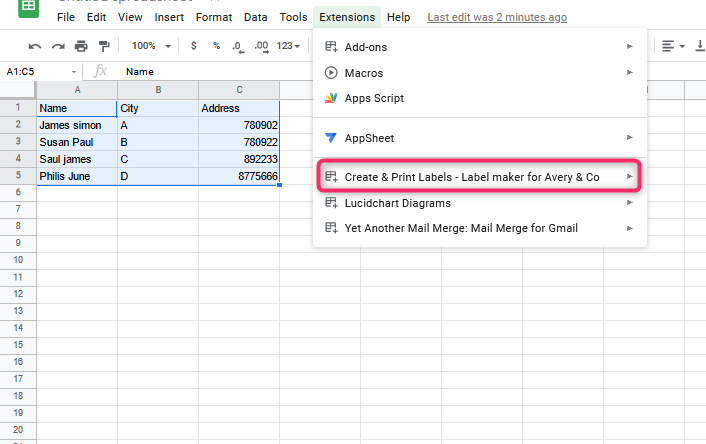
3. Next, locate the Extensions tab, and click on it. Then, select the create & print labels button.
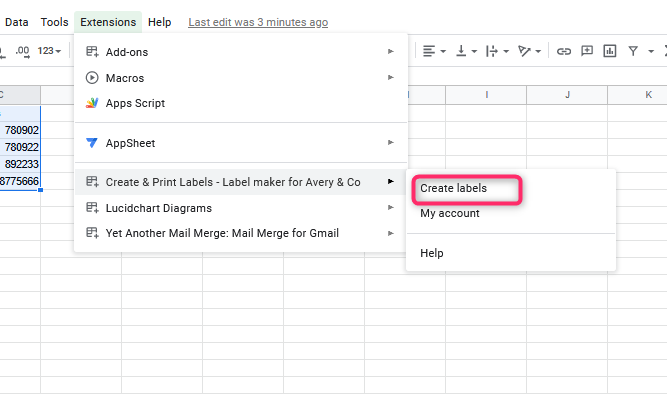
4. From the drop-down button, hover the mouse on top of creating & printing labels and select create labels.
5. A dialogue box opens; click on the label template section. Set this section. In most cases, this section is already set.

6. To select the template, click on the drop-down menu and select the template format you want. For example, choose the Most popular templates to bring the list of the commonly used templates.

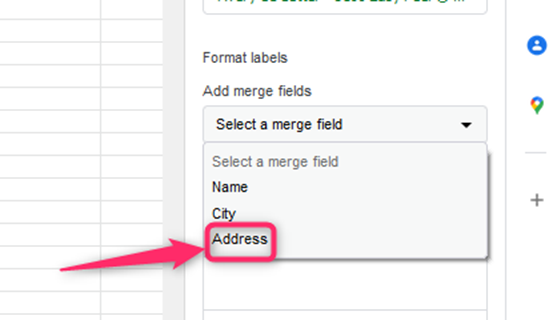
7. On the Add a merge field, select the column that contains your addresses
8. In the content section, format the label to the desired format. To do so, you will enter the column headers with the “<< >>” wrappers. For example, the “Name” column will be represented as <<Name>>.

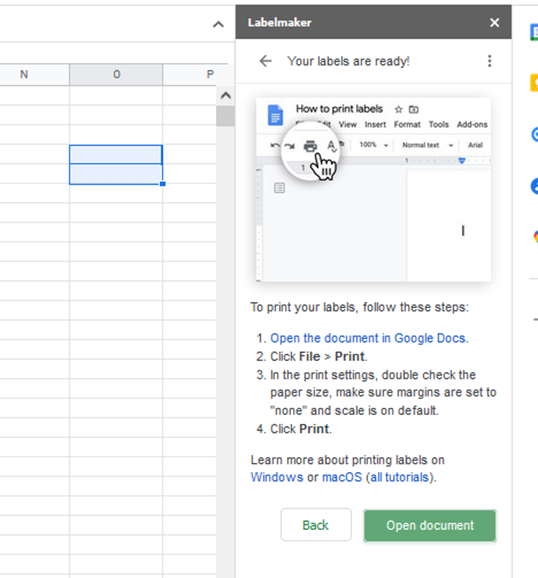
9. Then click the create labels button, and the label document will be launched in Google Docs. You can view and print it.

10. To print, open the labels in Google Docs; click the Print button from the File tab.