
The bookmark feature in Microsoft word is beneficial and has many uses. Users usually insert bookmarks for a selection of text they may want to revisit later.
In Microsoft word, bookmarks are hidden by default, and one has to follow some steps to view them. Imagine a case where you have created and saved more bookmarks in a document such that it becomes hard for you to view them. While you can easily view your bookmarks by jumping from one to another, it is much easier and time-saving to see all your bookmarks with just a click.
Steps to follow to show bookmarks in Word 2010 and 2013
Table of Contents
1. Open your word document.
2. Click the File tab.
3. On the displayed list on the left pane, click the Options item.

4. Click on the advanced tab on the left pane of the Words Option pop-up window.

5. Under the Show document content section, check the ‘Show bookmarks’ checkbox. Doing this will enable you to display the bookmarks within your document. To hide the bookmarks uncheck the box.

6. Click OK to save your settings. After doing this, you will see a small square gray bracket around any words, images, or phrases you bookmarked.
If you failed to select anything when adding bookmarks (which means you placed your cursor in an area and left it like that), the bookmark would appear as an I-beam.
Bookmarks will only appear on the screen, and they will not show on your document when you print it out.
Viewing bookmarks in word 2007
1. Open your word document.
2. Click on the Office icon found on the top left of the Word window.
3. Click the Word Options button found at the bottom of the window to display a dialog box.
4. Click the Advanced tab and locate the Show document content section.
5. Check the Show bookmarks checkbox to display the bookmarks within your document.
6. Click OK to save your setting.
How to go to a bookmarked location
After you create your bookmarks, you can also add links to them such that you can be able to trace them easily using the ‘Go To’ tab.
Here is what to do;
1. Use the keyboard shortcut Ctrl + G to launch the ‘Go To’ tab in the Find and Replace dialog box.
2. Go to the Go-To what section and click on the Bookmark option.
3. Click, select or type in the bookmark name.
4. Click the Go To button.
How to insert a bookmark
1. Click on the location where you want to add your bookmark. In the case of a text, select the smallest string that makes sense (not a whole paragraph)
2. Go to the Insert tab on the main menu ribbon.

3. Under the Links group, click on the Bookmark option to display a dialog box.
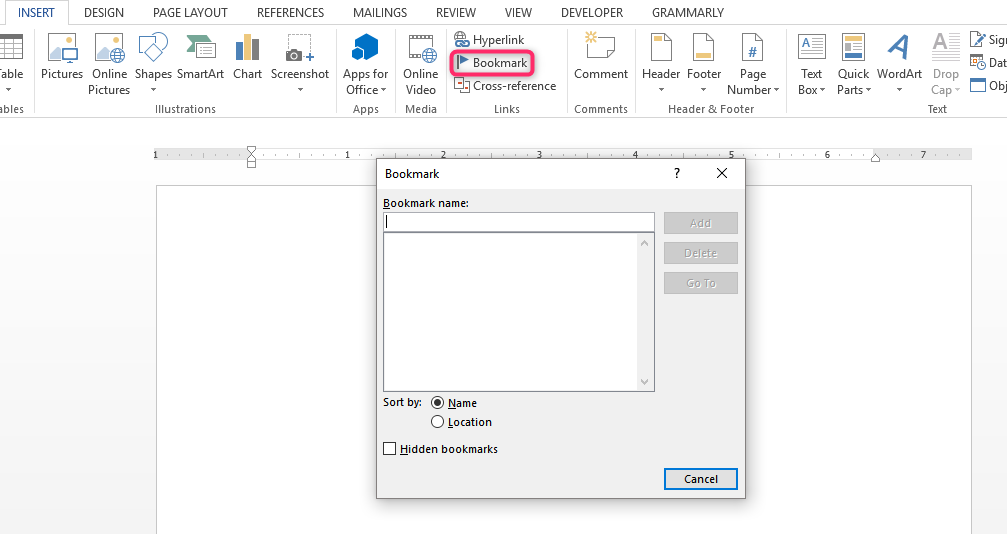
4. In the displayed dialog box, type the name of your bookmark.
5. Click the Add button.
How to delete a bookmark
1. Click on the Insert tab on the main menu ribbon.
2. Under the Links group, click on the Bookmark option.
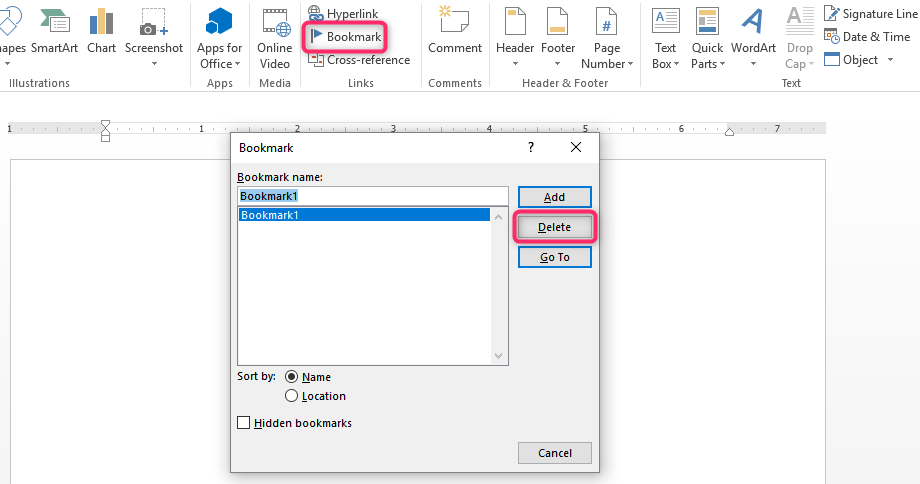
3. Next, click either of the two options (Name or Location) to sort the list of bookmarks within your document.
4. Select the bookmark name you want to delete and click on the Delete button.
5. If you have a hyperlink inserted to the deleted bookmark, you will first have to right-click the linked text and then click the Remove Hyperlink option.